


NetSuite supports the ability to import a Credit Memo and apply it to a Sales Invoice in the process. This process is similar to importing a Credit Memo with the addition of two fields: Apply Applied and Apply Payment.
The steps below will walk you through how to build and populate an import source file as well as correctly build the field mapping in the CSV import itself and execute.
Step 1: Build Template
Create an Excel spreadsheet with the following columns/fields:
| External ID | Currency | Quantity |
| Credit # | Exchange | Price Level |
| Customer | To Be Printed | Rate |
| Date | To Be Emailed | Sale Amount |
| Department | To Be Faxed | Apply_Applied |
| Location | Item | Apply_Payment |
Step 2: Populate Template
Below are the descriptions of the data required for each field. Populate your data into the appropriate fields and you can view the example at the end to see how your document should look.
- External ID: This value can be numeric or alpha-numeric, but every line or group of lines per desired credit memo must have a unique external ID.
- Credit #: NetSuite will assign the Credit Memo # based on the next number available. However, this field needs to be included in the template and populated, even if Auto Numbering is On. In this Example Auto Numbering is On, Allow Override is On, and the number we provide in the source file will be the Credit Memo #.
- Customer: Must match exactly how NetSuite stores the name. This rule applies to all fields.
- Date: Use the desired Date for the Credit Memo transaction.
- Posting Period: Use the desired Fiscal Period for GL Impact.
- Department and Location: Assign as desired / required by System Configuration.
- Currency: Use USD for all rows.
- Exchange: Must = 1 for all rows.
- To Be Printed: Set to TRUE (checked) or FALSE (unchecked) as desired.
- To Be E-Mailed: Set to TRUE (checked) or FALSE (unchecked) as desired.
- To Be Faxed: Set to TRUE (checked) or FALSE (unchecked) as desired.
- Item: This is the item typically used on Credit Memos.
- Quantity: Can be 1 for all rows since this is a Credit Memo being created.
- Price Level: In this example price levels are in Use. Custom is used to define the dollar amount.
- Rate: This is the unit sale amount.
- Sale Amount: This is the extended sale amount, which will equal Rate since we are dealing with a quantity of 1.
- Apply_Applied: This the NetSuite Internal ID for the Invoice that the credit line is being applied-to. The Internal ID can be found in a List View or the URL when viewing the transaction itself. Note: It may be necessary to turn “On” the “Show Internal ID” option in Personal Preferences.
- Apply_Payment: This is the applied amount. These can certainly be less than the Sale Amount, and that will leave the Credit Memo Open instead of Fully Applied. Apply_Payment, however, cannot exceed what is in the Sale Amount Field.
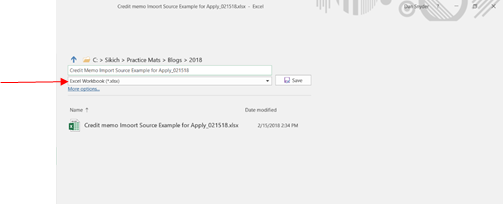
When Finished, Save as an Excel Workbook.
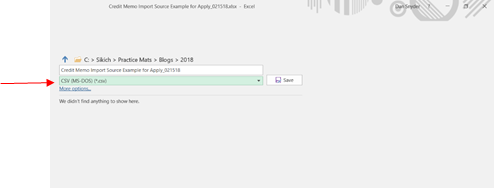
To upload your file to NetSuite you will need to save again, but this time Save As a .CSV file. Choose “CSV (MS-DOS) (.csv)” from the drop-down list.
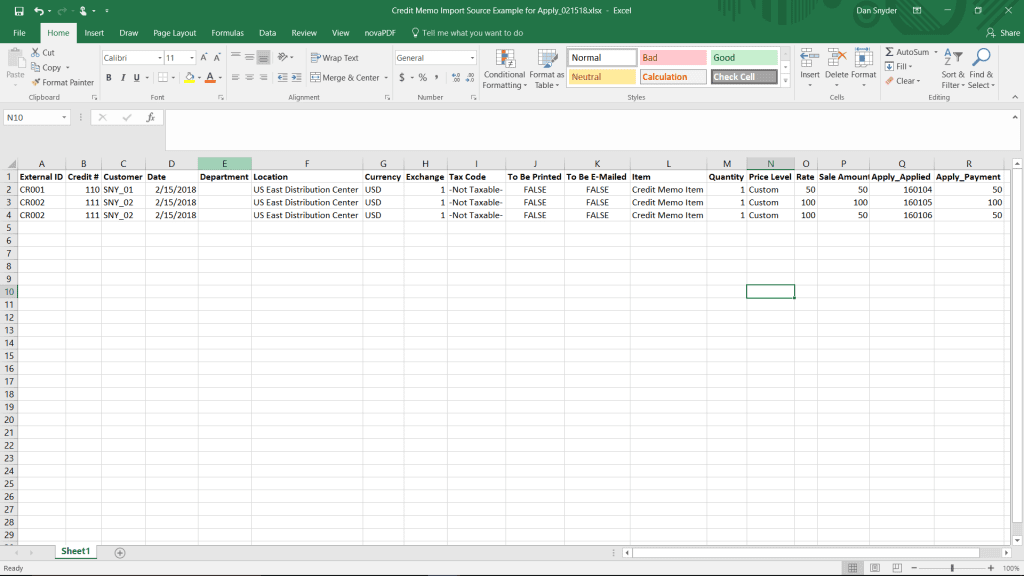
The Source File end result should look like this below:
Step 3: Build CSV Import
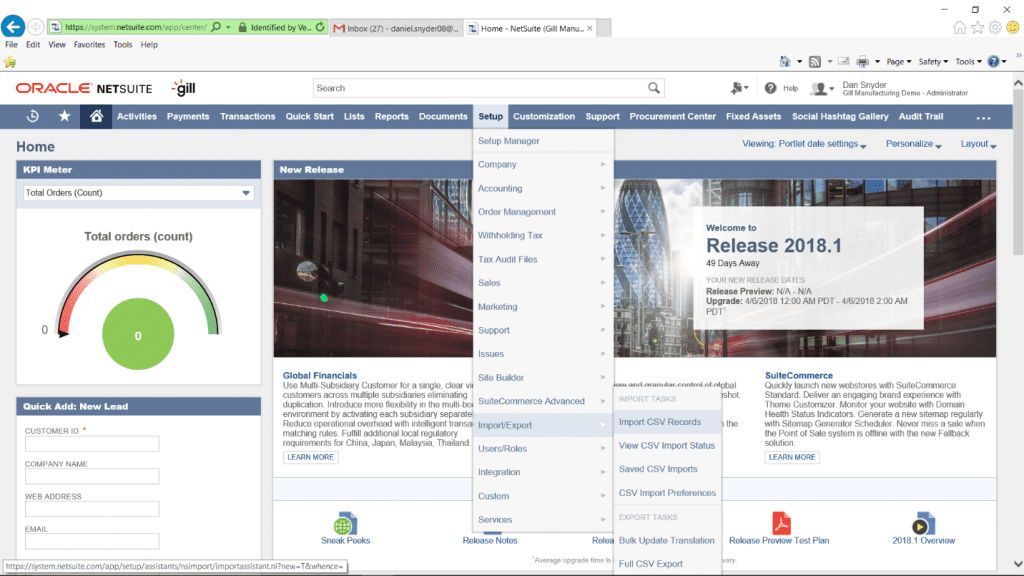
To create the Import, navigate to Setup > Import/Export > Import CSV Records.
Import Step 1: Scan and Upload CSV File
- Select:
- Select Import Type = Transactions
- Record Type = Credit Memo
- Character Encoding: Use default value Western (Windows 1252)
- CSV Column Delimiter: Use default value Comma
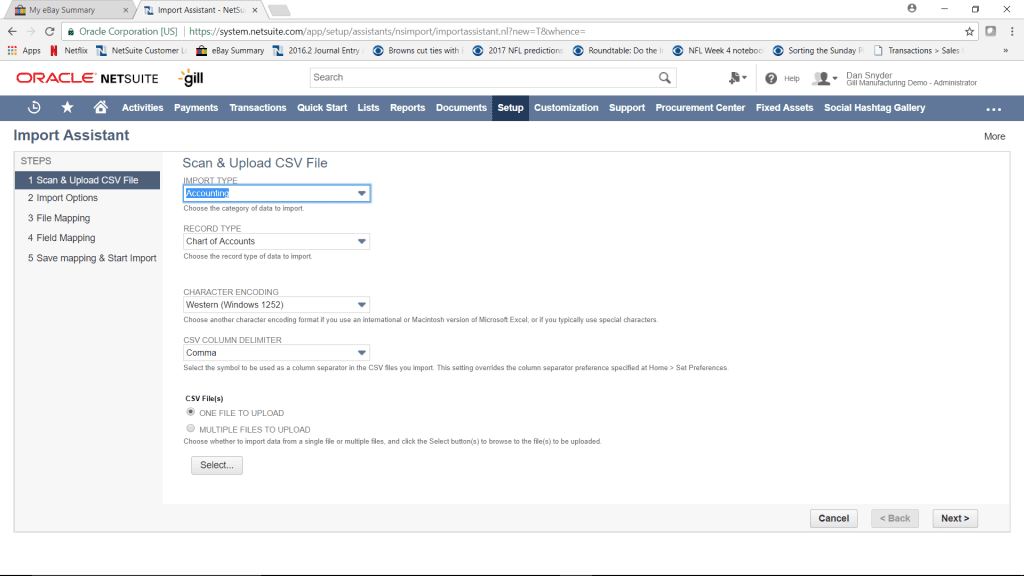
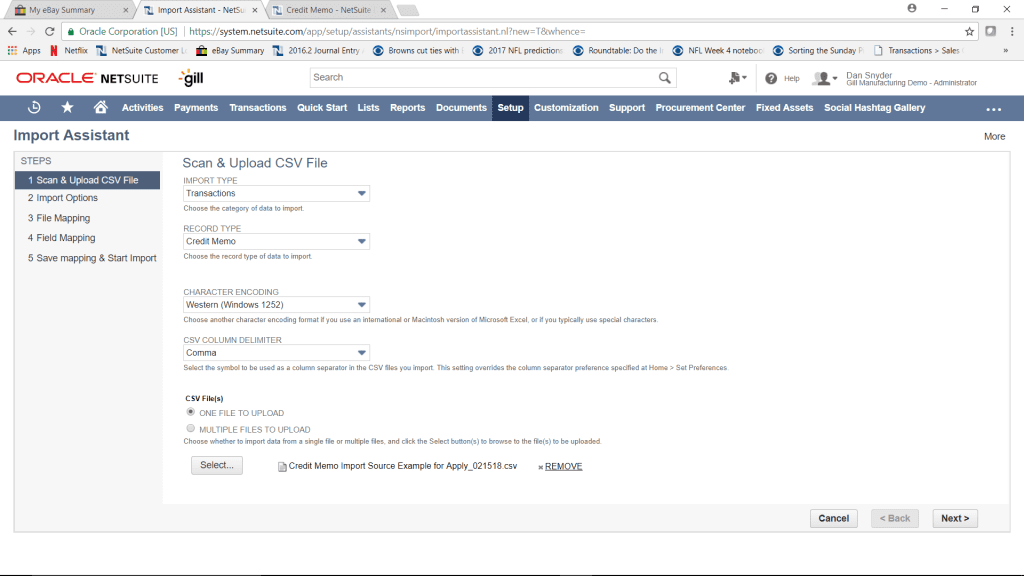
Select the option, ONE FILE TO UPLOAD, and select the .CSV file just created, then click Next.
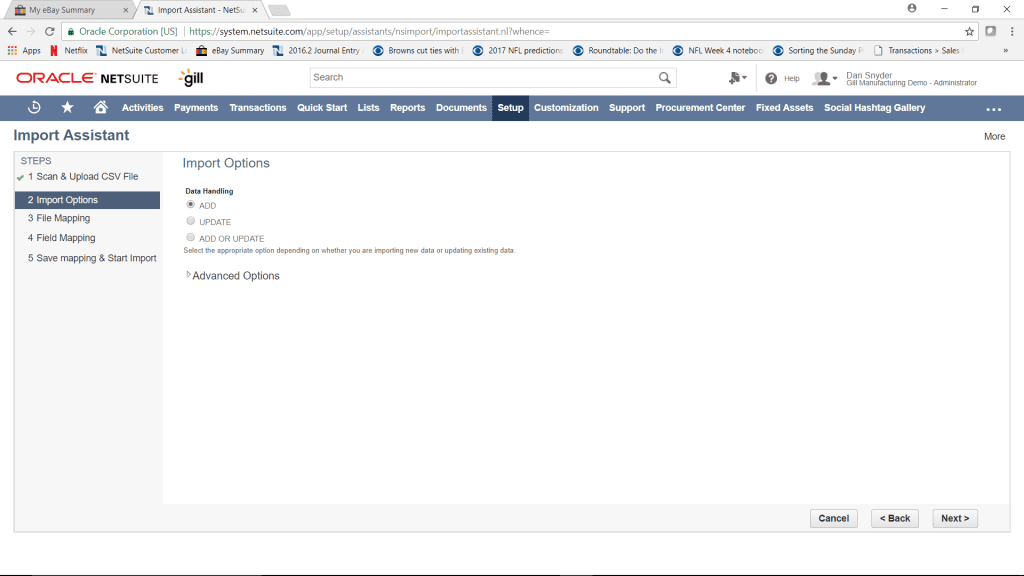
Import Step 2: Import Options
- Select the option, ADD, then click Next.
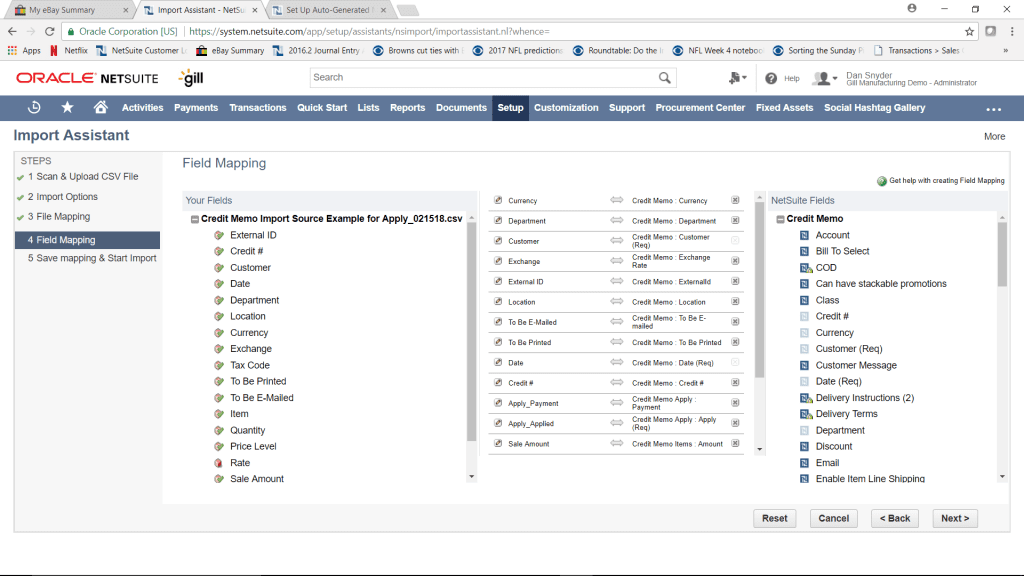
Import Step 4: Field Mapping (NetSuite handles Step 3: File Mapping).
- This step allows you to map the fields from your source file to the proper field in NetSuite.
- Start with the NetSuite field list on the right, select the NetSuite destination field.
- The cursor will move to the next row, place it back on the row where you just selected the NetSuite field and then select the desired source field form the list on the left, which is the .CSV source file.
- Repeat until all fields are mapped. The result should look like this:
- Click Next when finished mapping and go to the last screen in the Import Setup.
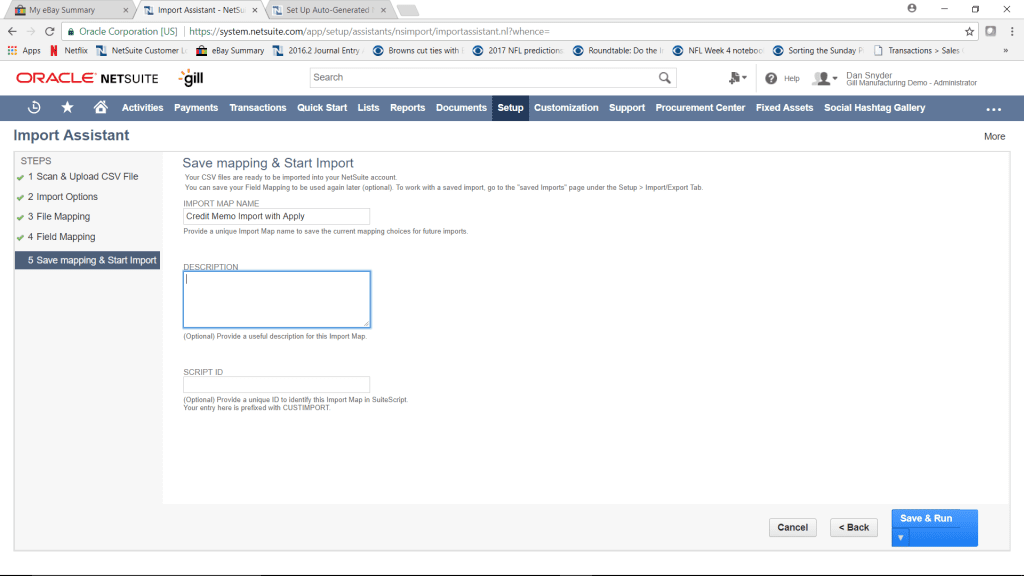
Import Step 5: Save Mapping & Start Import
- Name the Import and click Save & Run
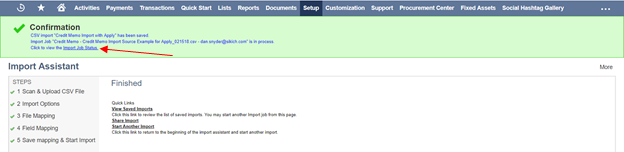
- After saving, click the Import Job Status Link to see progress of your import.
You have now successfully imported a Credit Memo and applied it to a Sales Invoice! If you would like more information about NetSuite or would like to speak with someone about this tip, please contact us at any time! You can also learn about more great tips for NetSuite on our YouTube playlist or our other blog posts.
This publication contains general information only and Sikich is not, by means of this publication, rendering accounting, business, financial, investment, legal, tax, or any other professional advice or services. This publication is not a substitute for such professional advice or services, nor should you use it as a basis for any decision, action or omission that may affect you or your business. Before making any decision, taking any action or omitting an action that may affect you or your business, you should consult a qualified professional advisor. In addition, this publication may contain certain content generated by an artificial intelligence (AI) language model. You acknowledge that Sikich shall not be responsible for any loss sustained by you or any person who relies on this publication.