The Workspace in Dynamics 365 Enterprise (Formerly Dynamics AX) is taking the ERP world by storm
The cloud based system is fast, flexible, and deigned for efficiency. Dynamics 365 Enterprise introduces the idea of workspaces. Workspaces in Dynamics 365 Enterprise are personalized work centers with data, reports, and transactions designed to make you more efficient in your daily tasks. The system comes with several workspaces out-of-the-box containing specific content for the different roles of an organization. These out-of-the-box workspaces can be updated or modified with additional information such as Power BI reports, data lists, and even transactions to make the experience completely personalized. If the out-of-the-box workspaces don’t fit your organization, Microsoft has given you and your colleagues the power to create new workspaces all on your own! In this blog post, we will walk through how to create a new workspace, how to add content to the workspace, and even how to share your workspace to others.
-*Note* – Italicized Text = System Steps to perform
Let’s start by creating a brand new workspace. Some common themes for new workspaces could be around CRM (Customer Relationship Management) and Fixed Asset Management.
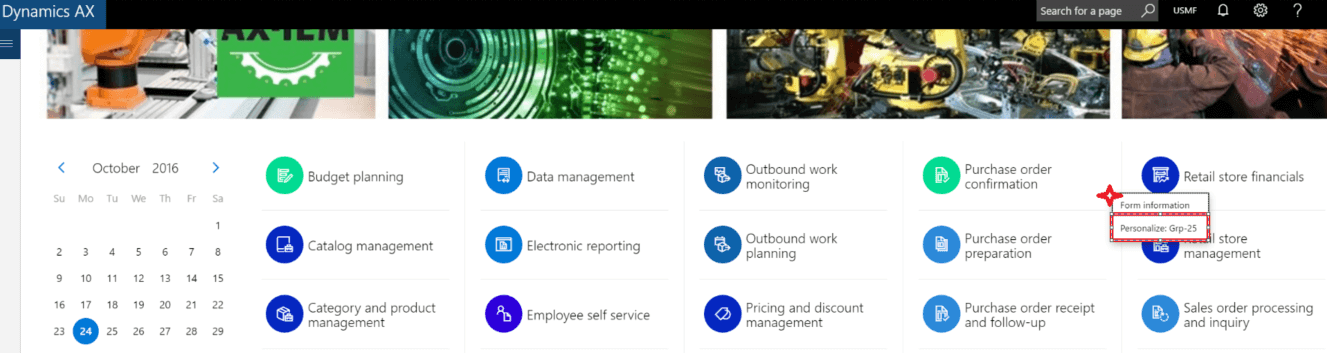
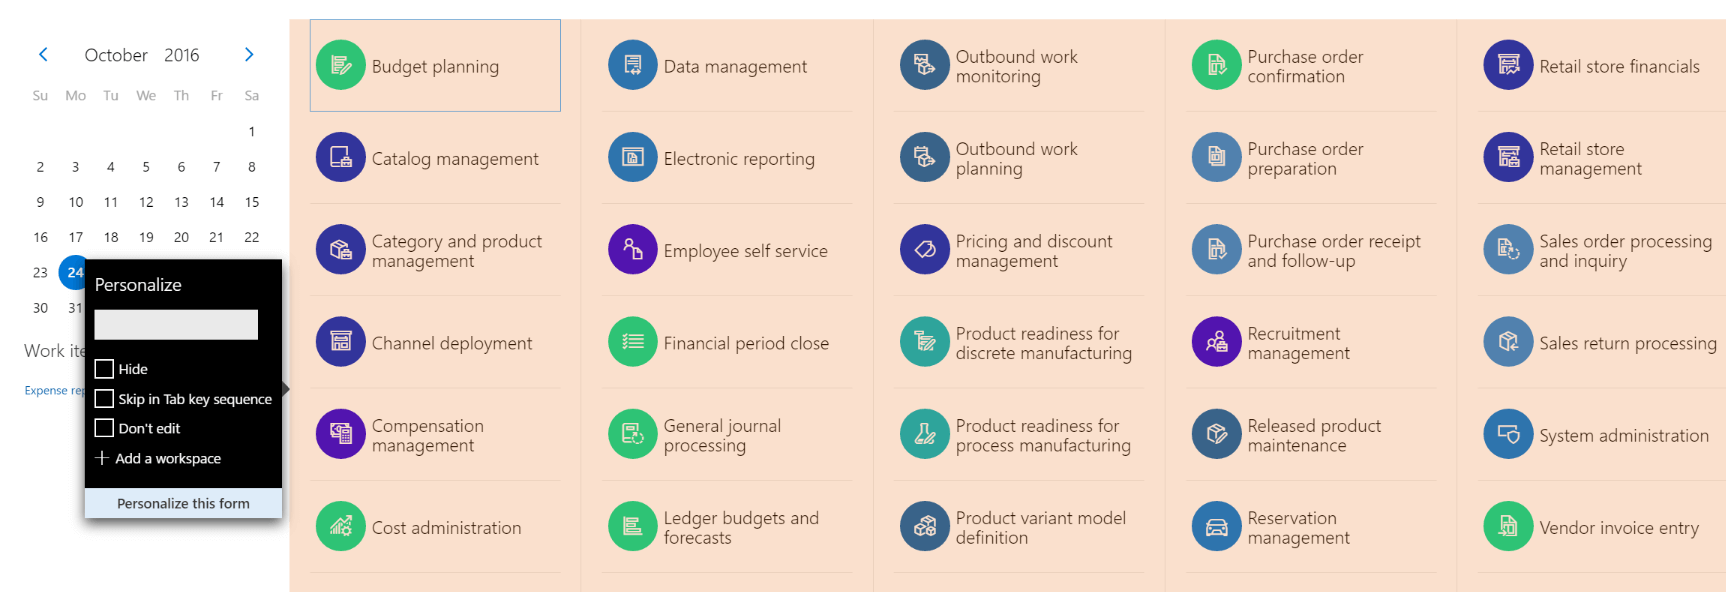
From the home screen > Right click in the “workspace area” > Click “personalize”
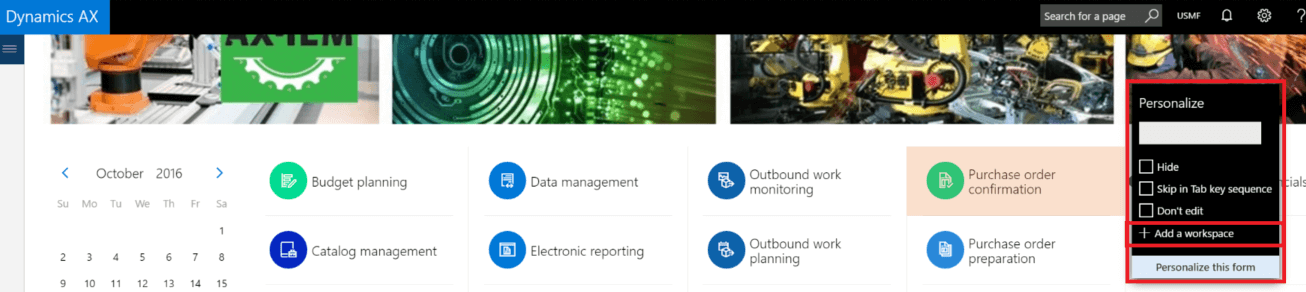
Click “Add a Workspace”
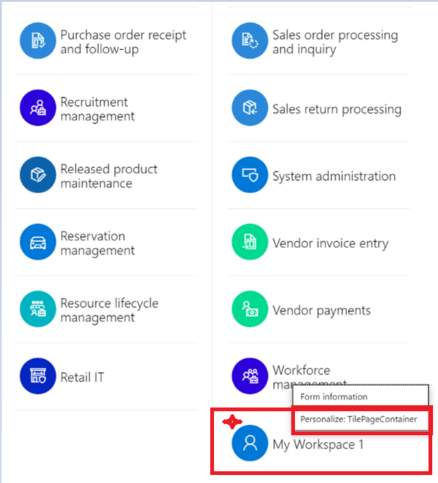
Next, rename “My Workspace 1” by right clicking the workspace tile and clicking “personalize”
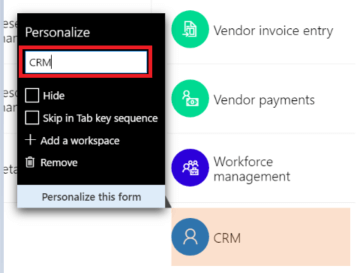
In the text box, update the “name” of your workspace.
Now that you have a properly named workspace, let’s go add some content and information. Adding content to your workspace is simple and can create efficiencies in your day to day activities. In many organizations, Account Managers and Sales Representatives perform daily tasks against Prospects, Customers, and Leads amongst other things. Rather than navigating to each of these areas, you can embed the data into the CRM workspace so the information is all in one place. In addition to personalizing the data in your workspace, you can also embed business intelligence reports from Microsoft’s Power BI reporting tool. Dynamics 365 fully leverages Microsoft’s Power BI application, where you can slice and dice data to gain insights about how your business is operating and in turn publish those reports to your workspace. Let’s start by adding some data and information and then move onto the reports.
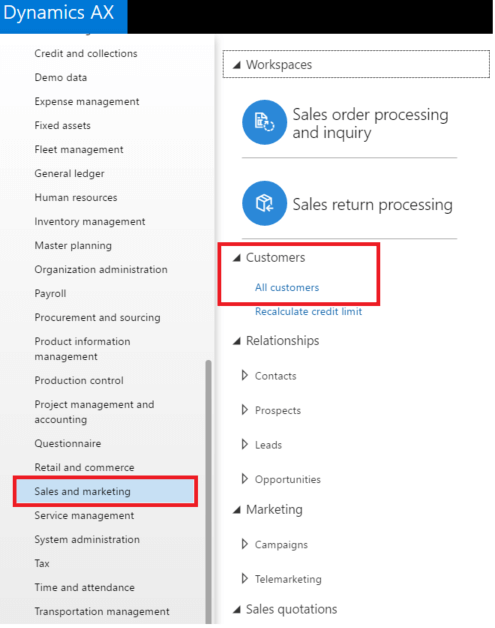
Add Customer List to Workspace – Navigate to Sales and Marketing > Customers > All Customers
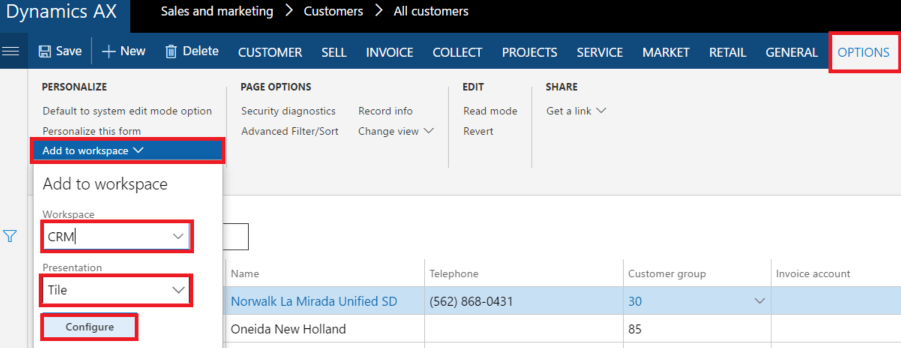
Select the “Options” button in the header menu. In the “Personalize” section click “Add to workspace”.
Select the “workspace” destination, and select the “presentation” style of the data (Tile, List, or Link). Select “Tile” for this example and click “Configure”
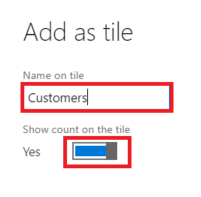
In the menu on the right side of the screen, “Name” your workspace tile and set whether or not to display the “record count” and click “Ok”
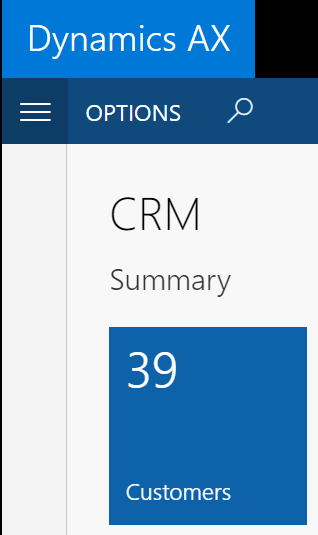
The tile for “Customers” has now been added to the “CRM” workspace.
Next, Let’s add the list of Leads to the workspace.
Navigate to Sales and marketing > Relationships > Leads > All Leads
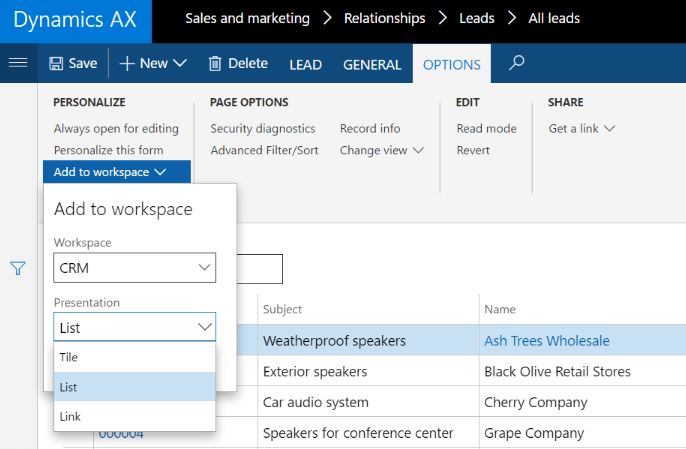
Select the “Options” button in the header menu. In the “Personalize” section click “Add to workspace”.
Select the “workspace” destination, and select the “presentation” style of the data (Tile, List, or Link). For this example, select “List”. Click the “Configure” button.
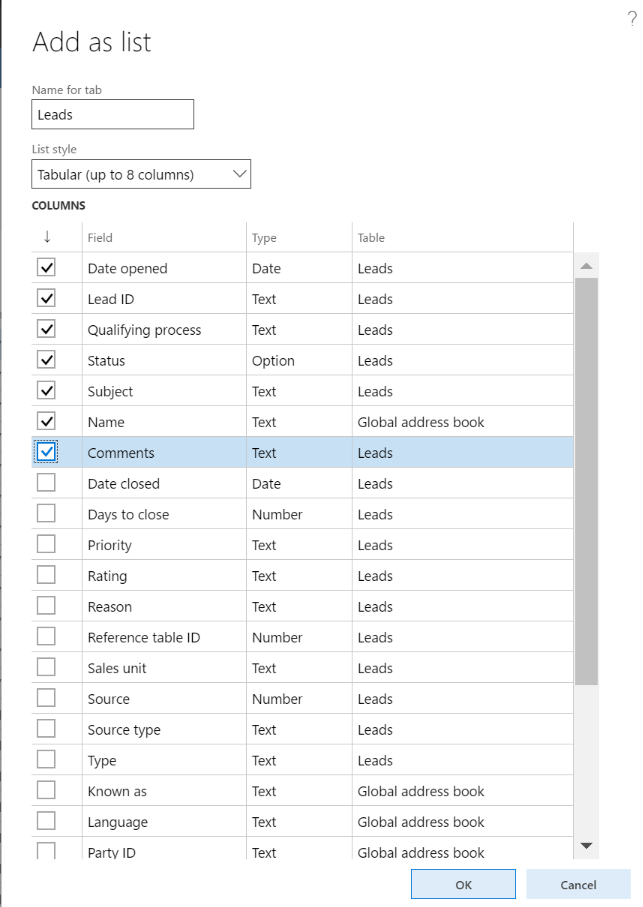
“Select” the checkboxes for the columns you wish to display in the workspace data list.
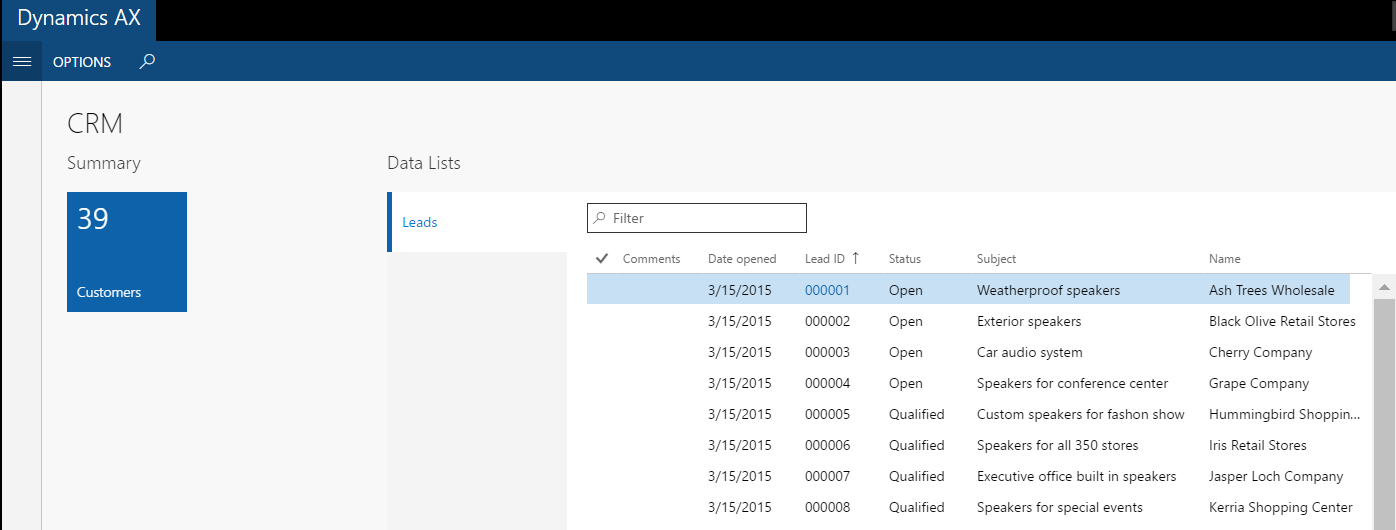
The list of Leads has now been added to the “CRM” workspace.
Adding business intelligence reports to your workspace can give you operational insights in real time. The setup requires a few more steps, but having the reports in your workspace will save time and ease frustration in the long run. Let’s add Power BI capabilities to our “CRM” workspace.
-*Note!* – there is separate setup required to connect your Power BI account with your Dynamics 365 environment.
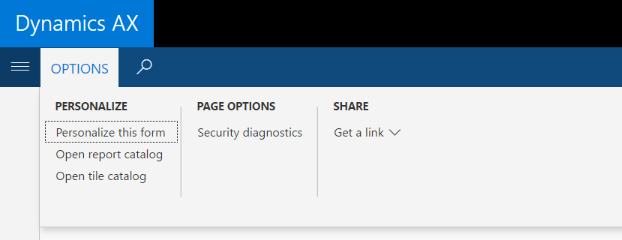
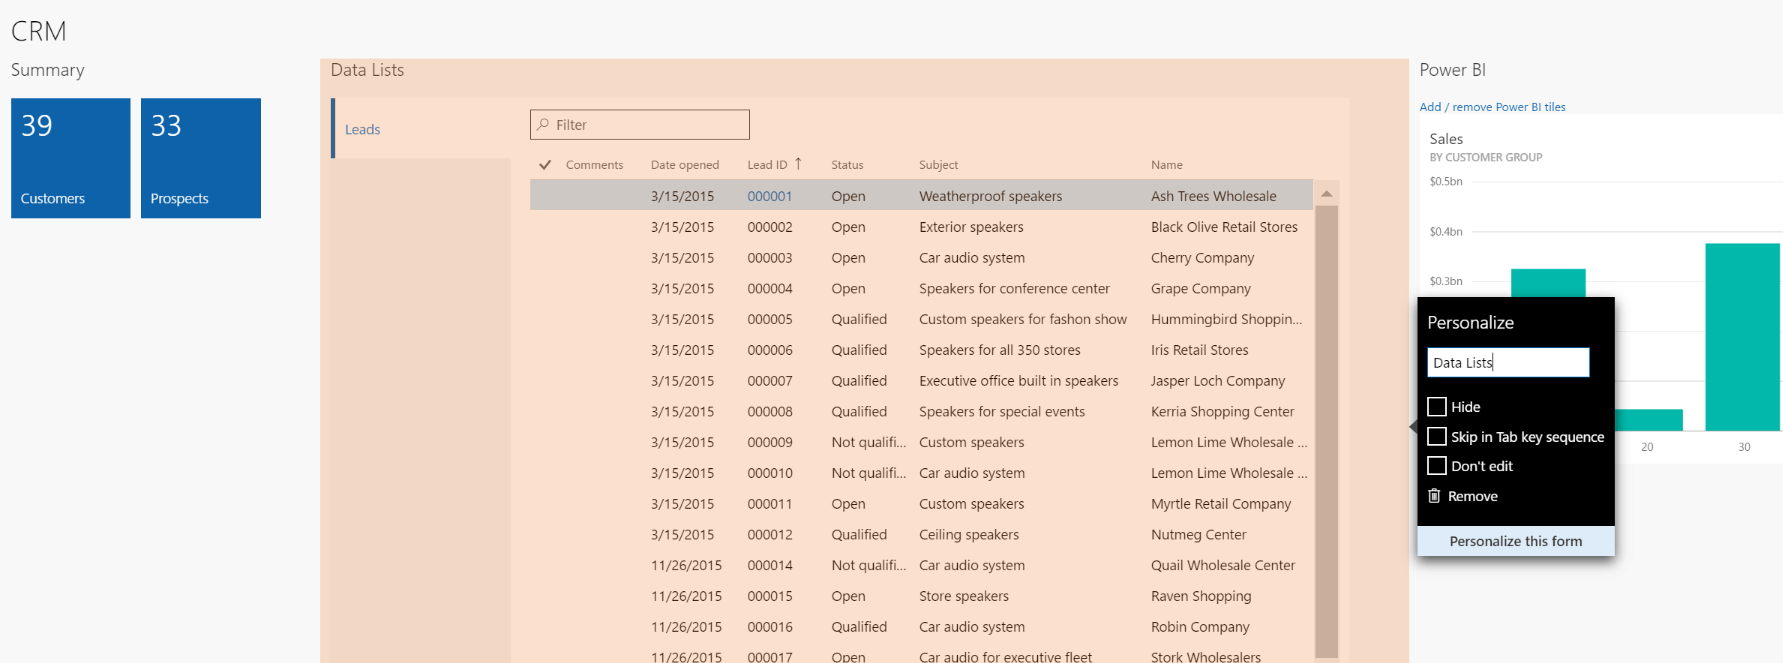
Click “CRM” workspace > Click “Options” > Select “Personalize this form”
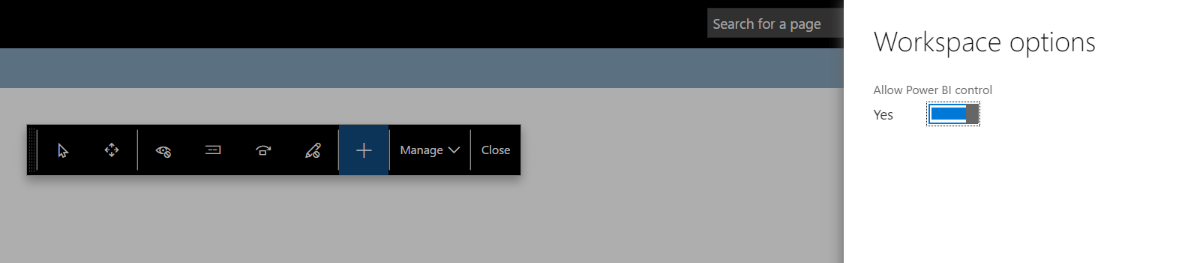
On the personalization menu box, Select the “+” symbol to add a personalization to your workspace.

In the menu on the right, move the selection to “yes” on the “Allow Power BI control” field
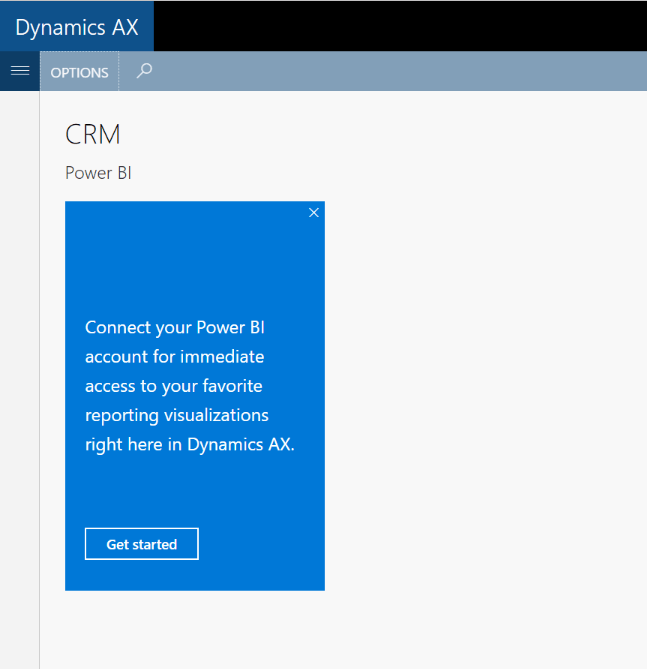
Within the “CRM” workspace, Click the “Get Started” button. You will then be prompted for credentials to connect to your power BI account.
Once your credentials have been validated, the list of available Power BI reports will display in the window on the right hand side of the screen.
Select the “checkboxes” on the reports you want to embed in the workspace.
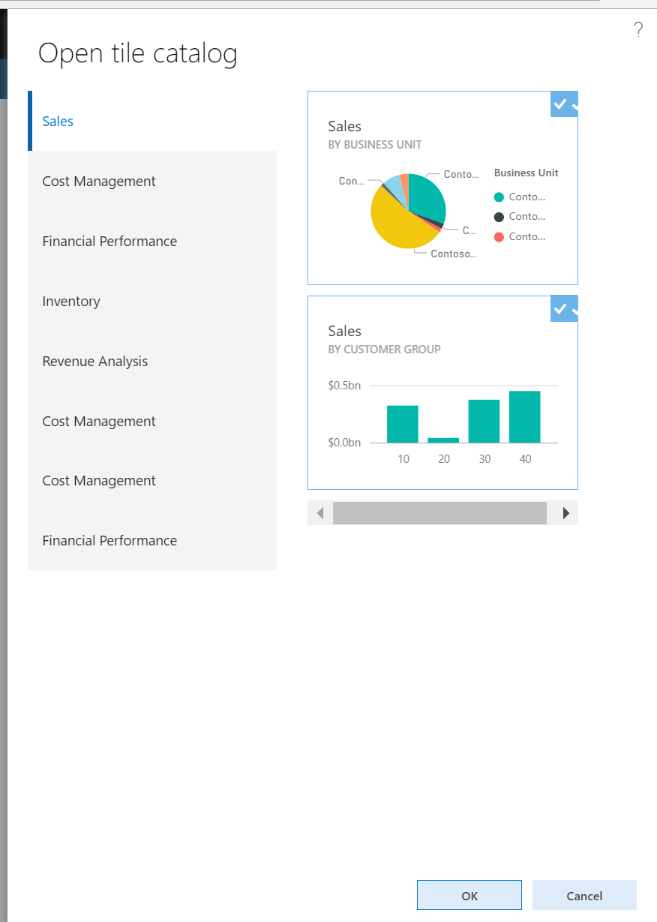
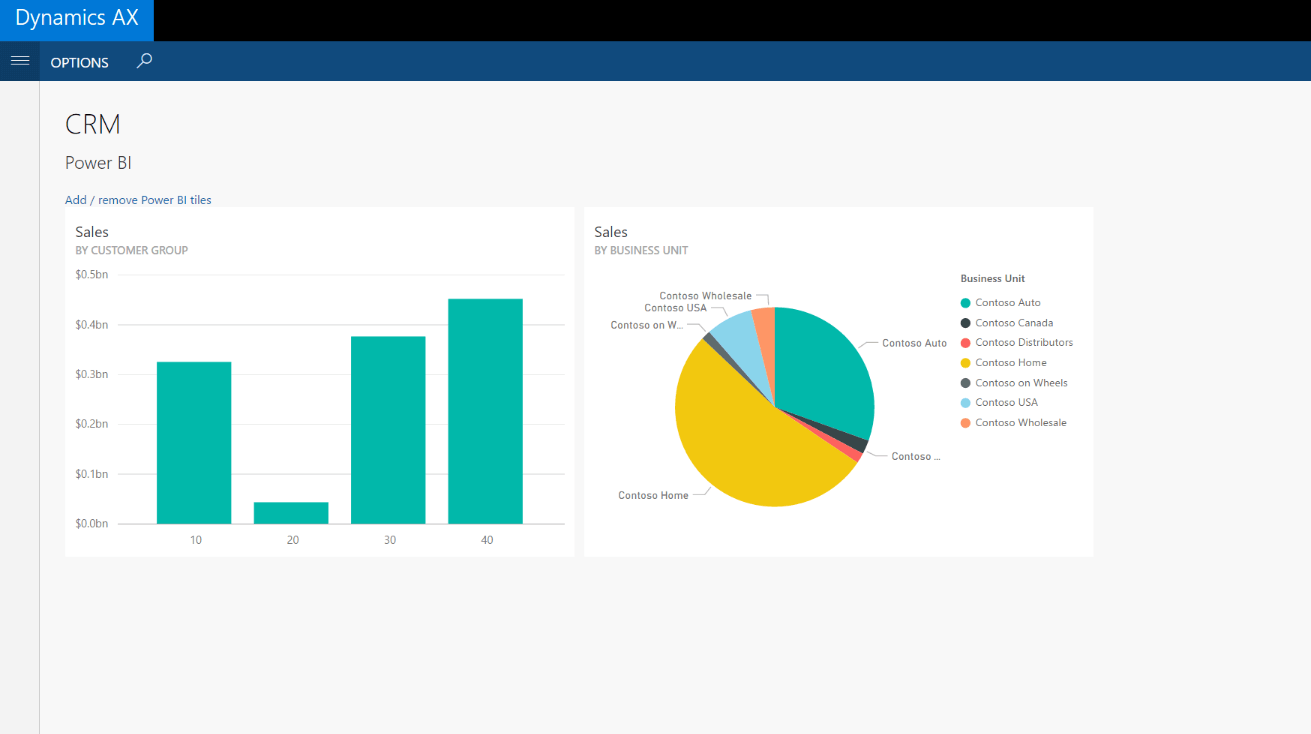
Click “OK” and the reports are added to your workspace.
In order to show off your flashy new workspace (or just to avoid duplicating work), you can actually share workspaces with colleagues in your organization.
From within the “CRM” workspace, right click the data list and select “Personalize this form”
On the “personalization” menu, click “Manage” and then “Export”
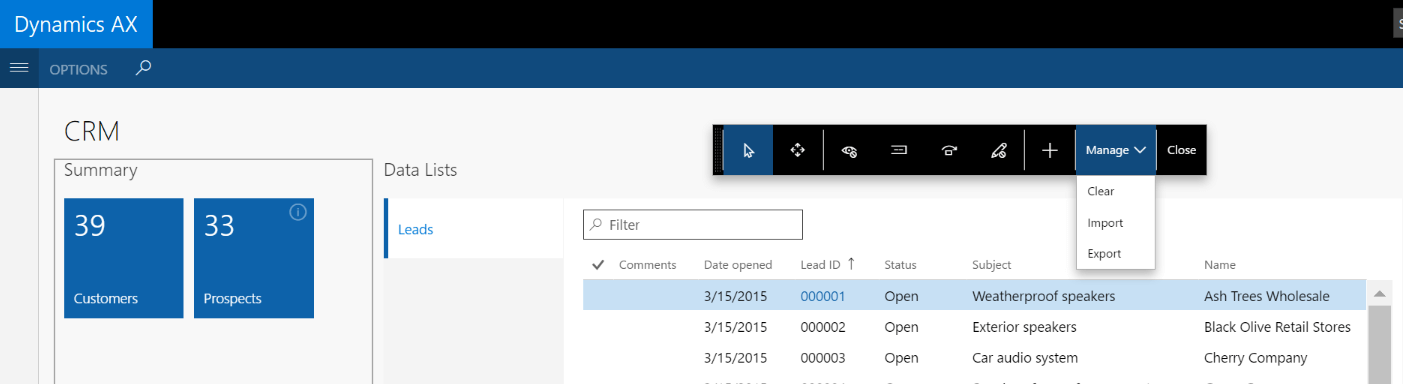
The workspace setup is exported in XML format.
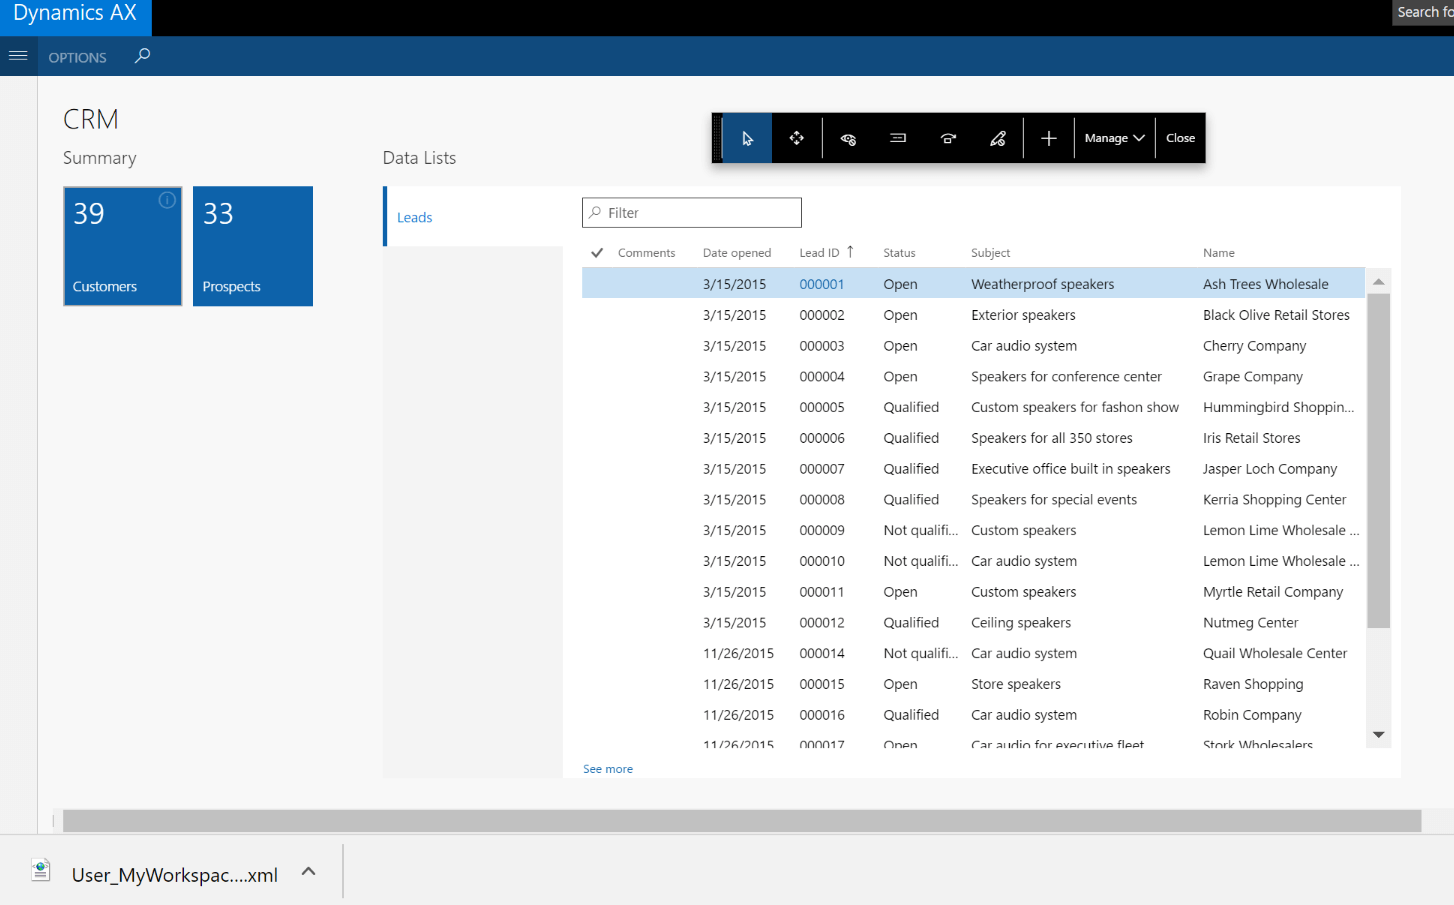
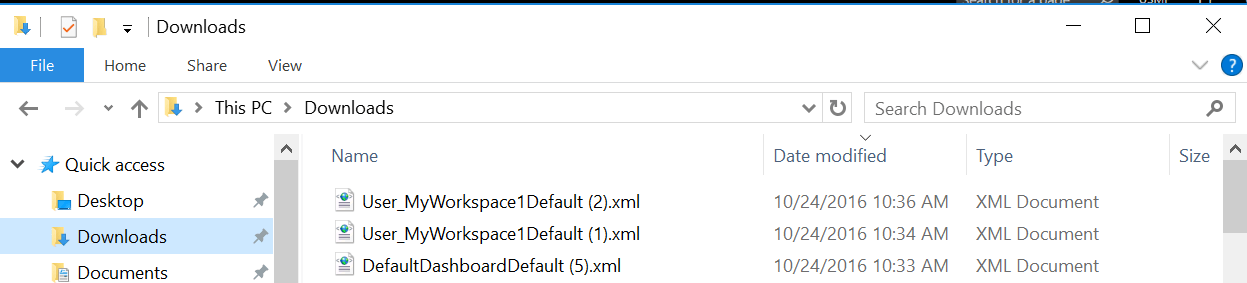
Within File Explorer, navigate to the “Downloads” Folder. Locate the file named “User_MyworkspaceXXX” and share via email or other mechanism.
Your colleagues can easily utilize the workspace by a simple import to their Dynamics 365 experience.
From the Dynamics 365 home page, right click the “workspace area” and click “Personalize this form”.
On the “personalization” menu, click “Manage” and then “Import”
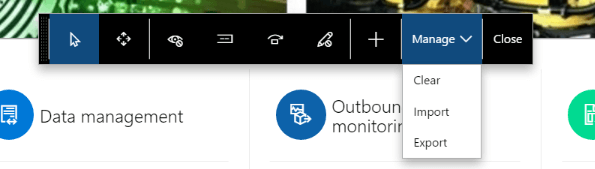
In the menu on the right, select “Browse” and locate the workspace XML file to import. Click “Open” to import the file. The workspace is then loaded.

-*Note! *- you will need to log out and log back into the Dynamics 365 environment to actually see the updated workspace.
Workspaces are a fantastic tool designed for saving time and reducing your number of mouse clicks. With a properly designed workspace, you should have all the information you need in one place.