Instead of sharing passwords for files, public-key encryption provides a great way to securely exchange files, documents, and other sensitive data. The following is meant to provide both an overview of public-key encryption and a step-by-step process you can use to create keys, import a public key, and encrypt a file.
Public-Key Encryption Overview
Public-key encryption, also known as asymmetric encryption, relies upon two keys to encrypt and decrypt data. Without getting too technical, the two keys are generated so that they are mathematically tied. The public key is used to encrypt data and can be shared with anyone. The private key is used to decrypt data. The flow chart below depicts this process.
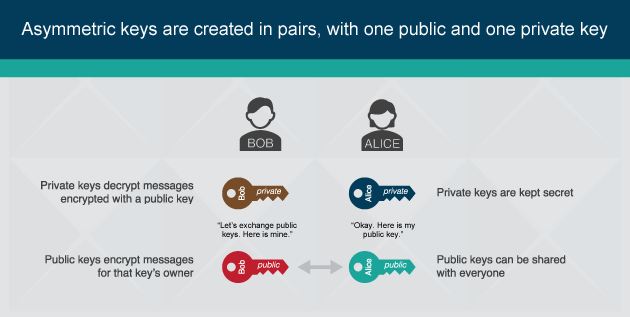
The following diagram illustrates the usage of asymmetric keys.
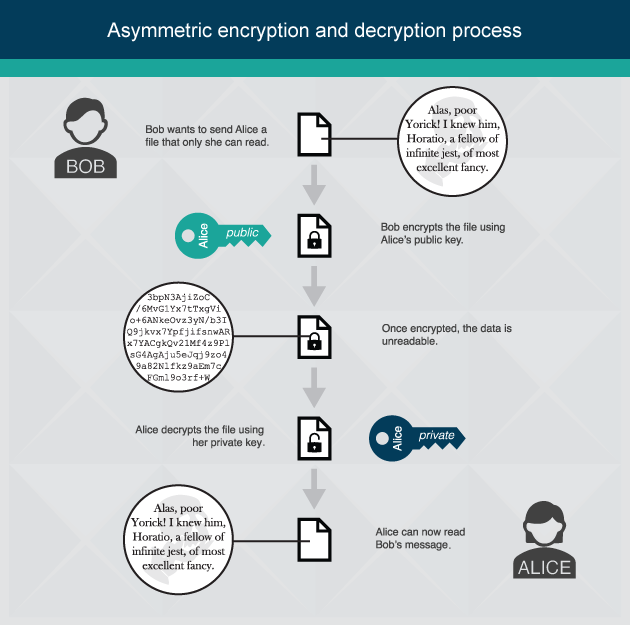
Installing Gpg4win
The most common way organizations generate keys in Windows is using Kleopatra, a subset of the Gpg4win application.
To install this application, go to https://www.gpg4win.org.
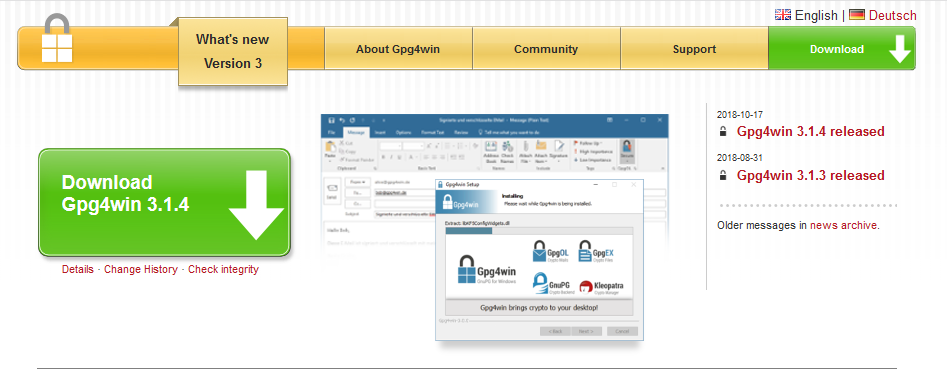
After downloading the application, run the executable and follow the installation prompts, being sure to keep Kleopatra selected as an installed component.
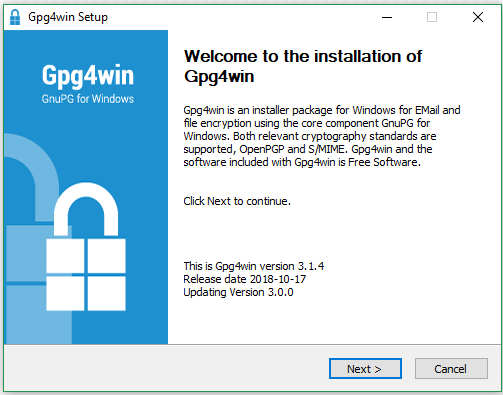
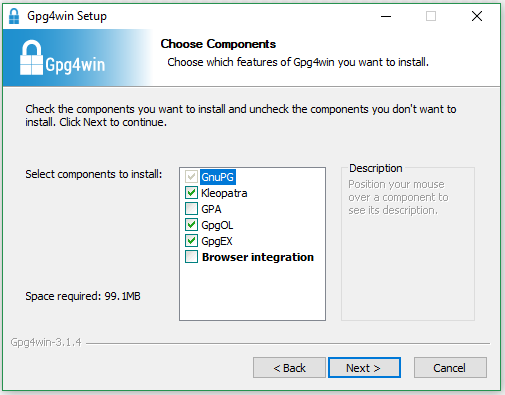
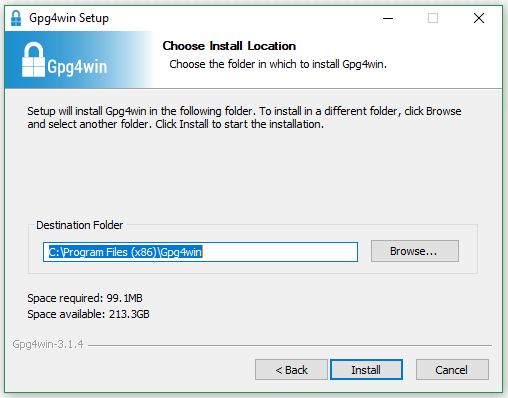
We recommend keeping the default location, selecting “Install” and, when prompted, clicking “Finish.” You will need to reboot the operating system before proceeding further.
Creating Keys
The creation of keys is a simple process made easy by Kleopatra.
Begin by opening Kleopatra.Iit should be a listed application on your Window operating system. If you are in a hurry, you can always hit the Windows key (⊞) and start typing Kleopatra.
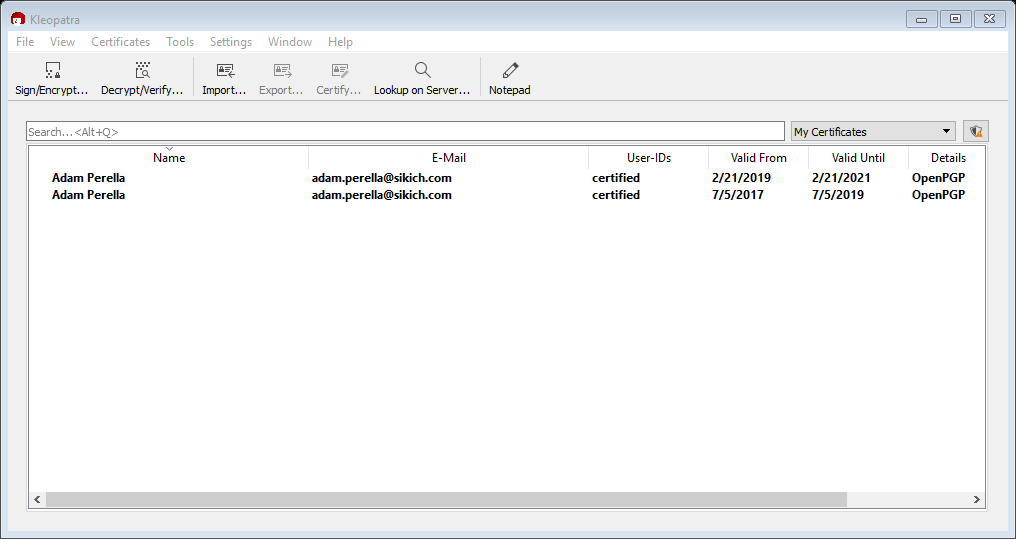
Select File > New Key Pair
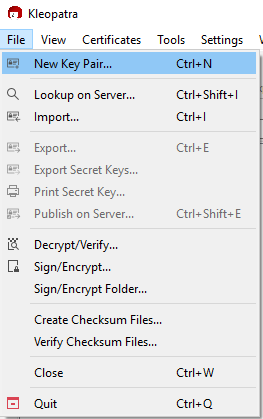
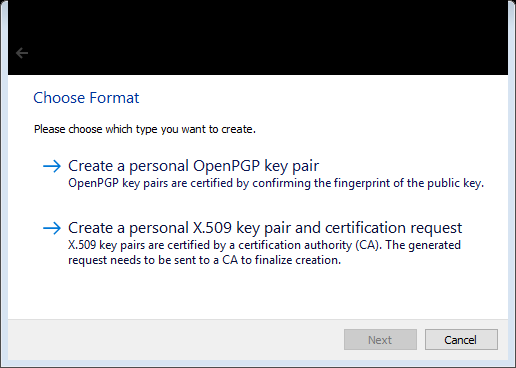
A new window will pop up. For the purposes of this walkthrough, we will choose the more common OpenPGP key pair, which will walk you through the following steps.
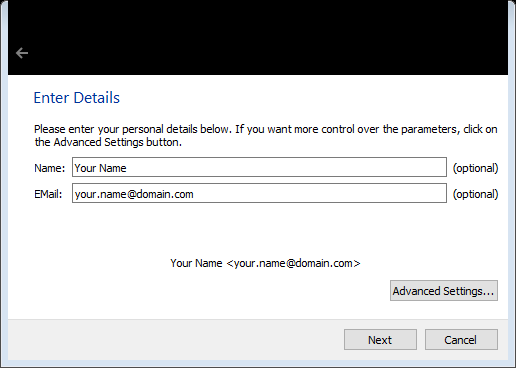
Enter in your name and email. This will help others reference your name when you sharing your public key.
OPTIONAL: At this point, you can change the default options of an RSA 2048-bit key pair that expires in two years. For general usage, and in alignment with documentation from NIST, the two-year cryptoperiod (life of the key pair) is appropriate. These options can be found under Advanced Settings.
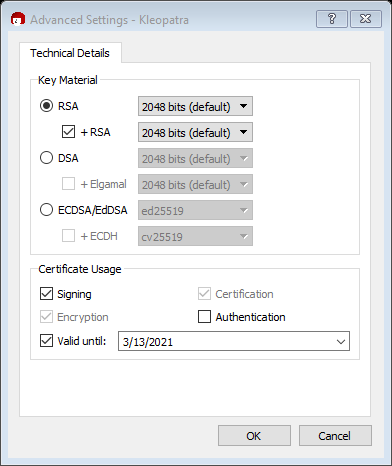
If you did change the defaults, select “OK.” If you did not, select “Next.”
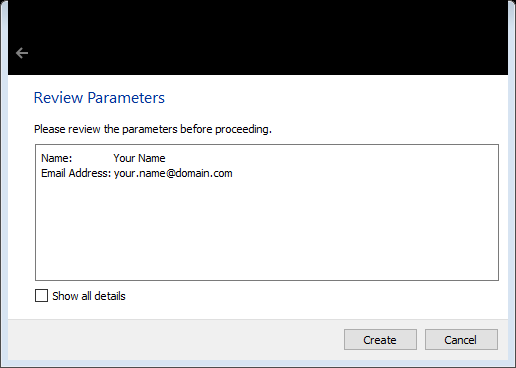
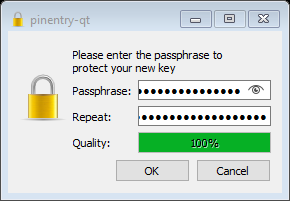
Performing a quick review of the parameters is always a good idea. After selecting “Create,” you will be prompted to enter in a password. The password you choose should be unique to this key and not used with any other access or login you may have. This password protects your private key (the one that must never be shared) in the event that it is exposed.
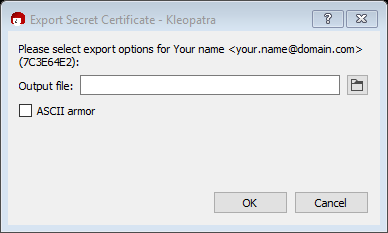
OPTIONAL: Making a backup of the key pair is a good idea. This will export both the public and private key to a location of your choosing (e.g., some people keep a USB drive in a safe). When you are done, or if you choose to skip this step, complete the process by selecting “Finish” and the program will return to the main application window.
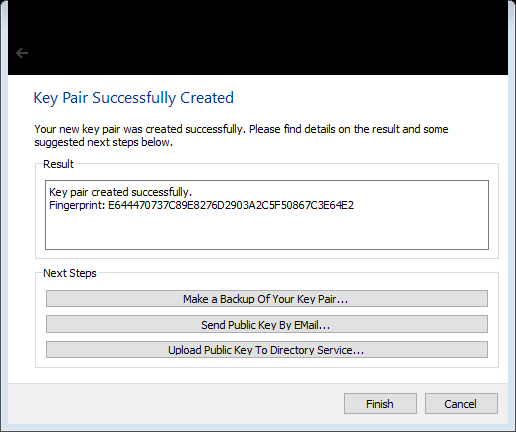
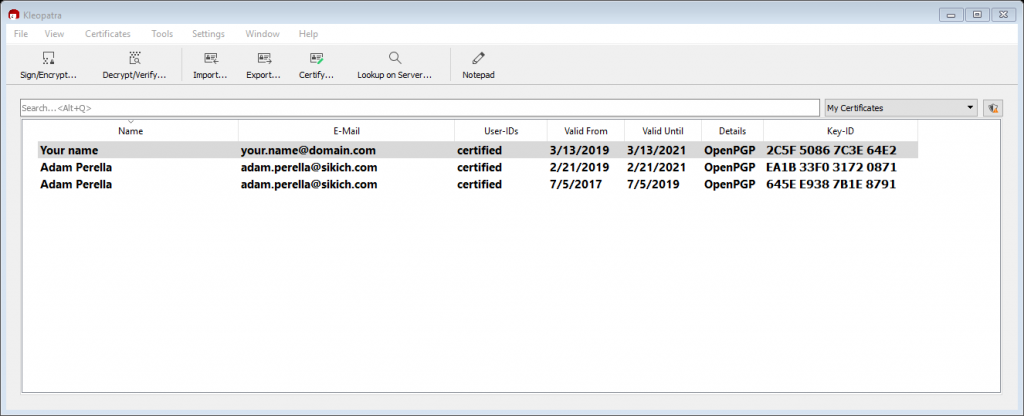
Congratulations! You just made a key pair.
Importing Public Keys
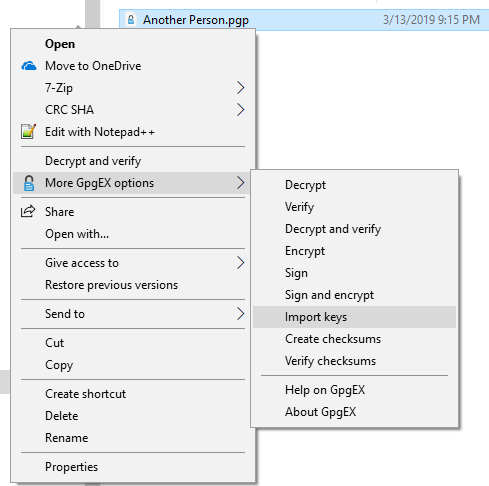
Before you can send an encrypted file to someone, you will need their public key. A public key may be in the file format of .asc, .gpg, or .pgp. To import, we begin by navigating to the public key sent to us. For the sake of this example, I chose the key for Another Person.
Right click and navigate to More GpgEX options > Import keys.
At this point, you can choose whether or not to certify someone else’s public key. If you know who sent it to you and were expecting it, this is a good idea. If you are not familiar with the sender or expecting to receive the key, call the sender. Regardless of if you choose “Yes” or “No,” the public key will be imported.
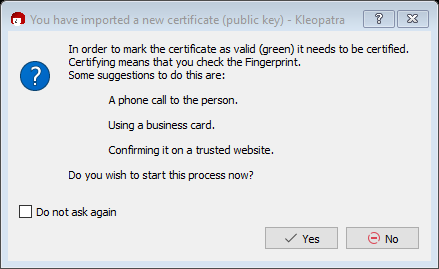
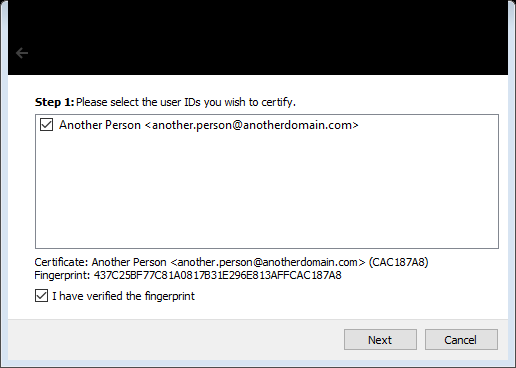
The next few steps walk through what happens after selecting “Yes.”
Step 1 confirms that the information is accurate. This is useful if importing multiple keys at once.
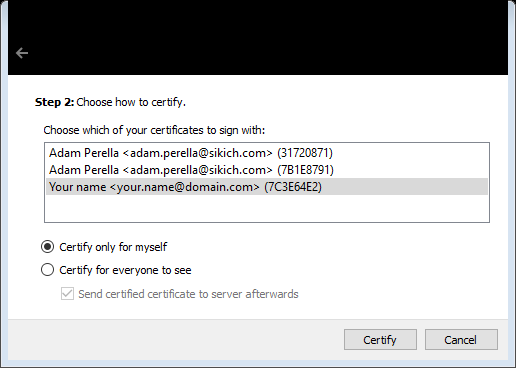
Step 2 allows you to choose which certificate of yours will be used to certify someone else’s public key. I have a couple here but will use the one we just created.
Step 3 requires my password and ends with the following.

Very good! You just imported a public key. Now you can send an encrypted message.
Encrypting Files with Public Keys
Method 1 – The Classic Right Click
The beauty of this method is the simplicity of it. It involves no major steps, and hopefully the ease of this process encourages its use. With the installation of Gpg4win, additional menu items are available when right clicking on a file or folder.
Navigate to the file you want to encrypt and right click on it. Select “Sign and encrypt.”
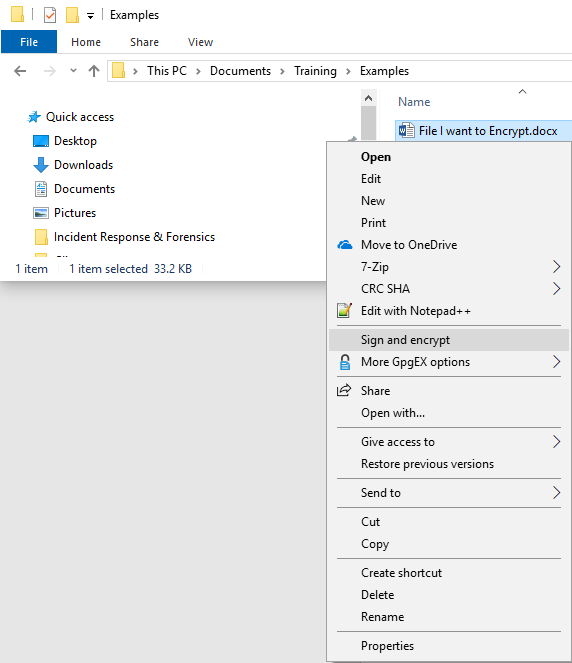
You can see in the next screenshot that I have also chosen to sign the file. If I have already provided my public key to the future recipient, this will provide authenticity over the encrypted file.
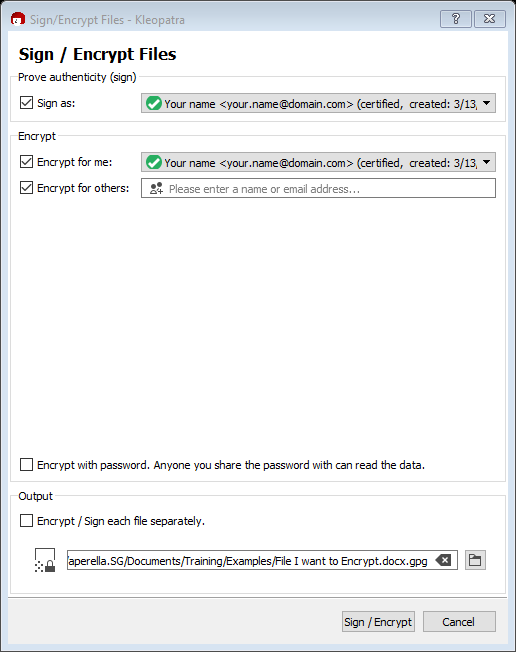
Selecting the first checkbox will also prompt for a password later. The “Sign as:” box does not need to be checked to encrypt a file.
The second box, “Encrypt for me:,” selects the key that was just made. As explained in the beginning, a file can be encrypted with multiple public keys, and it is always a good practice to include your own.
Next, select the public key of the person to whom you will be sending this. After you have multiple public keys imported, you can enter in their name, and the application will provide options for you to select.
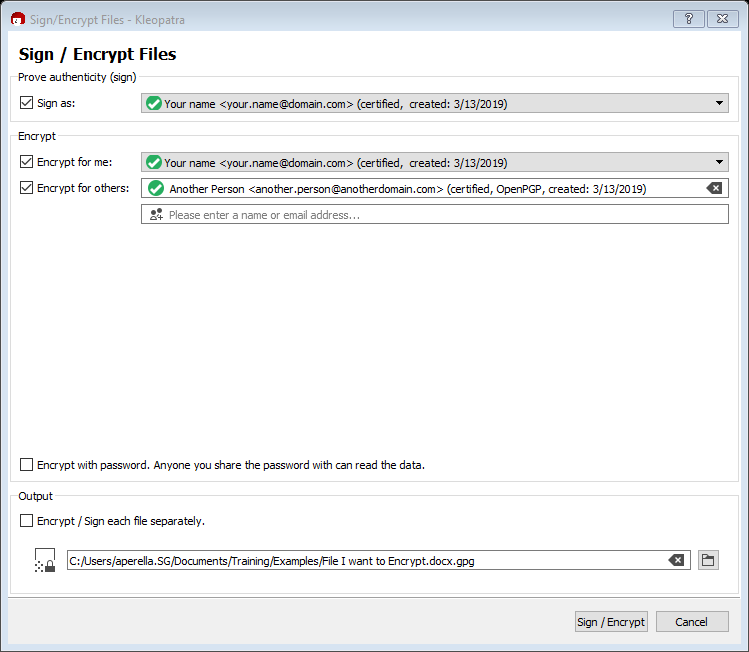
After this step, a pop-up window will appear asking for your private password. If you did not chose to sign the file as well as encrypt, it will encrypt the file directly.
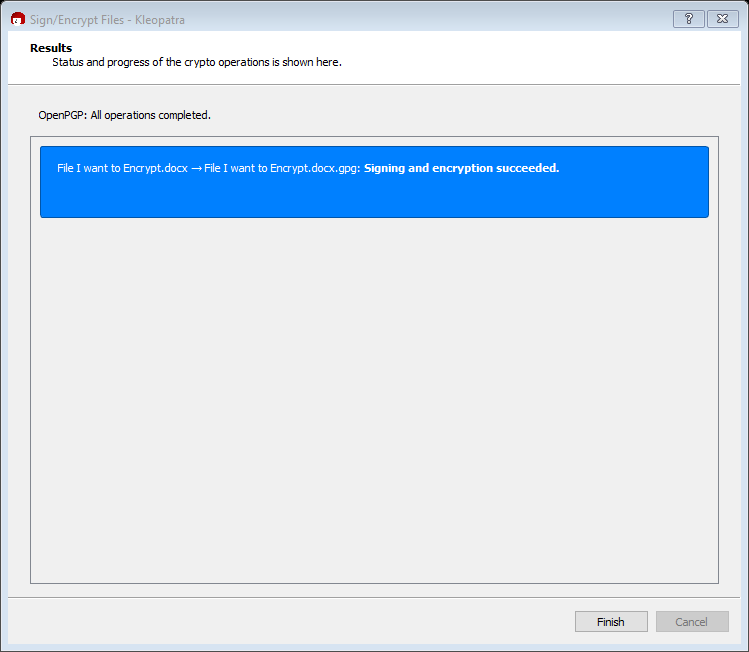
The final step is to select “Finish.”
Method 2 – Using the Kleopatra Application
With the Kleopatra application open, I can choose File > Sign/Encrypt or select that option directly.
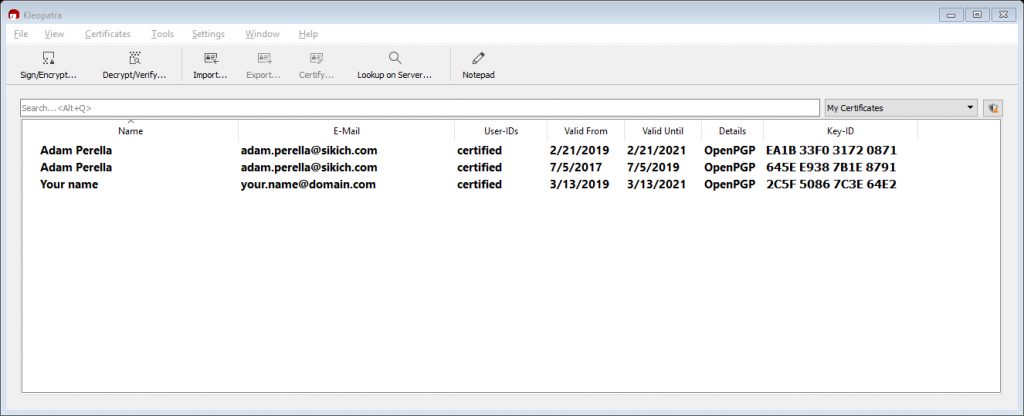
Selecting this option will open up a File Explorer window. Navigate to the file you want to encrypt.
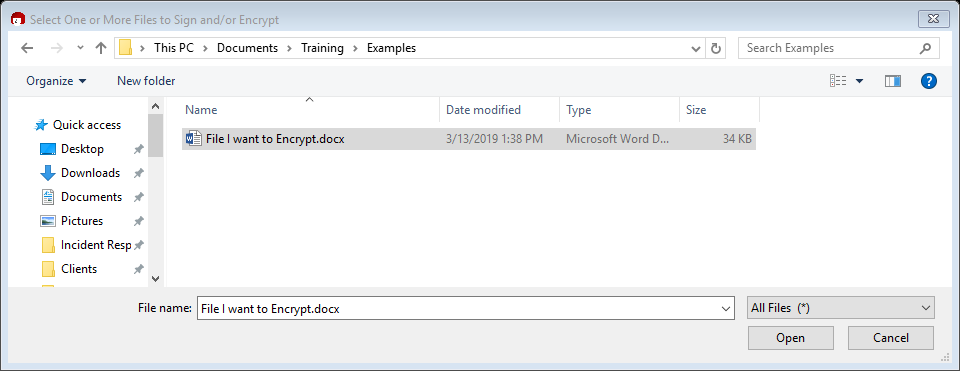
As with method 1, the next steps are exactly the same.
Sharing the Encrypted File

In the folder, you can see the encrypted file. This file is ready to be sent using any email client or put onto a flash drive and delivered. The only two people who can unencrypt the file File I want to Encrypt.docx.gpg are you and Another Person. The recipient will use their private key and the password protecting their private key.
Summary
We created this guide to provide guidance on how to use public-key (aka asymmetric key) encryption. Usage of public-key encryption is commonplace within the information technology space and can be of great benefit in other areas, including health care, payments, and legal. In the coming months, we plan to provide additional guides related to public-key encryption for Linux and Mac.
Have any questions? Don’t hesitate to contact us at any time!


