This Dynamics 365 for Finance and Operations Vendor Information Workspace is purely about managing the vendor users.
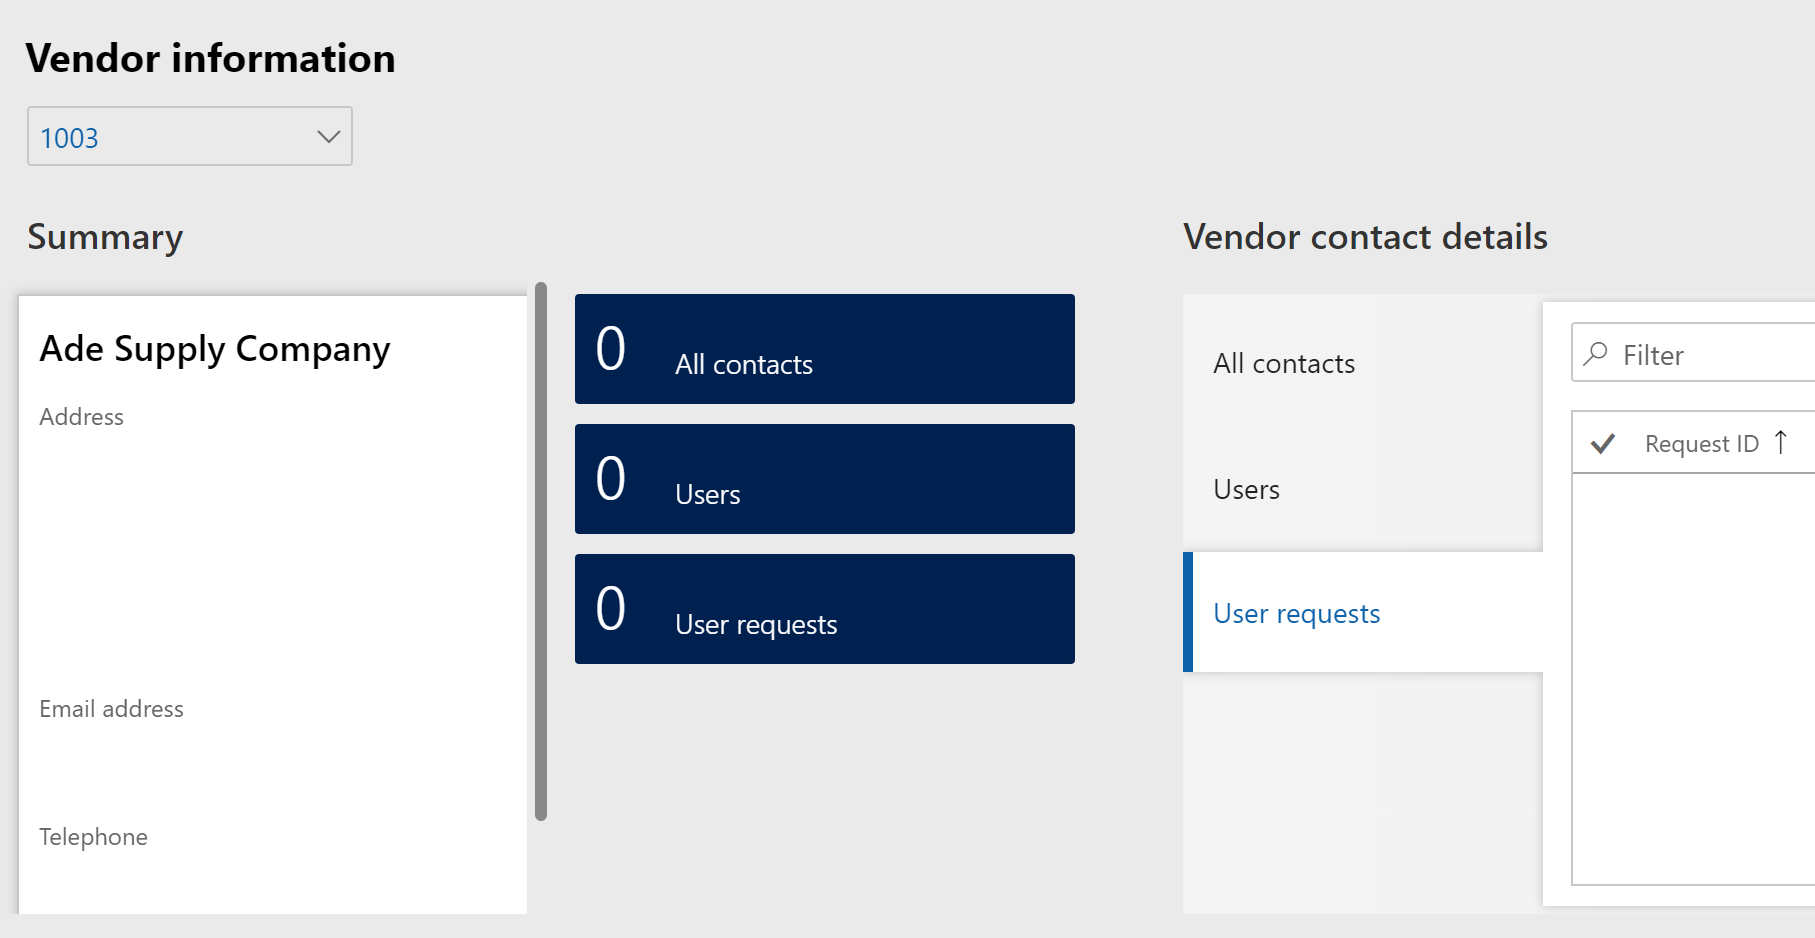
Let’s start with a vendor that has no contacts. We can add new contacts via this workspace, or we can add them the traditional way through the vendor master.
Method 1: Add new vendor contact via workspace or Vendor collaboration module
From the Vendor information workspace, click on the “All contacts” tile to get to Contacts page or from the Vendor collaboration module, go to Contacts > All contacts. On the Contacts page, click on the “New” button to create a new contact.
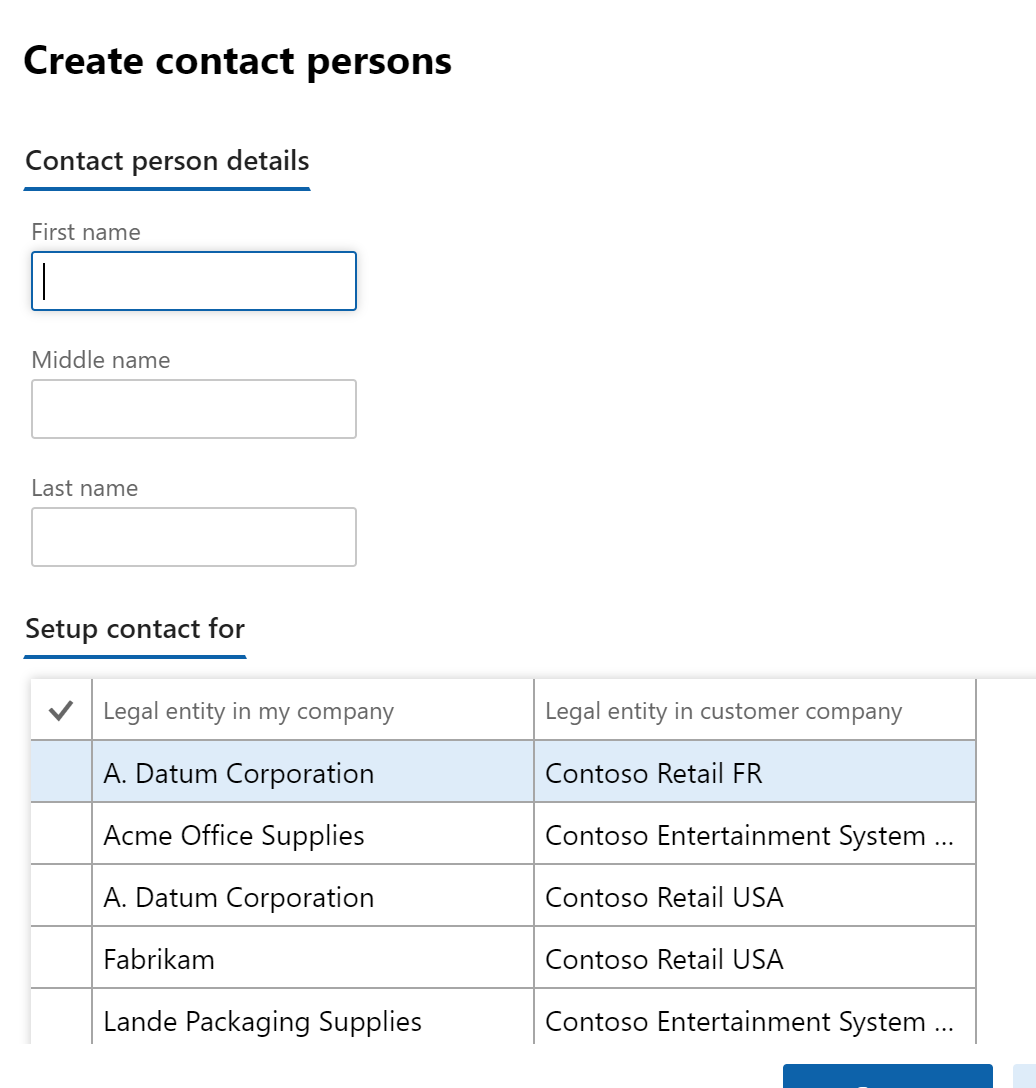
On this dialog box to create a new contact person, no vendor account numbers are available in the “Setup contact for” table, so we better know precisely how the vendor is called. Also, there is no name search on the field “Legal entity in my company,” so it can be quite tedious to find the vendor.
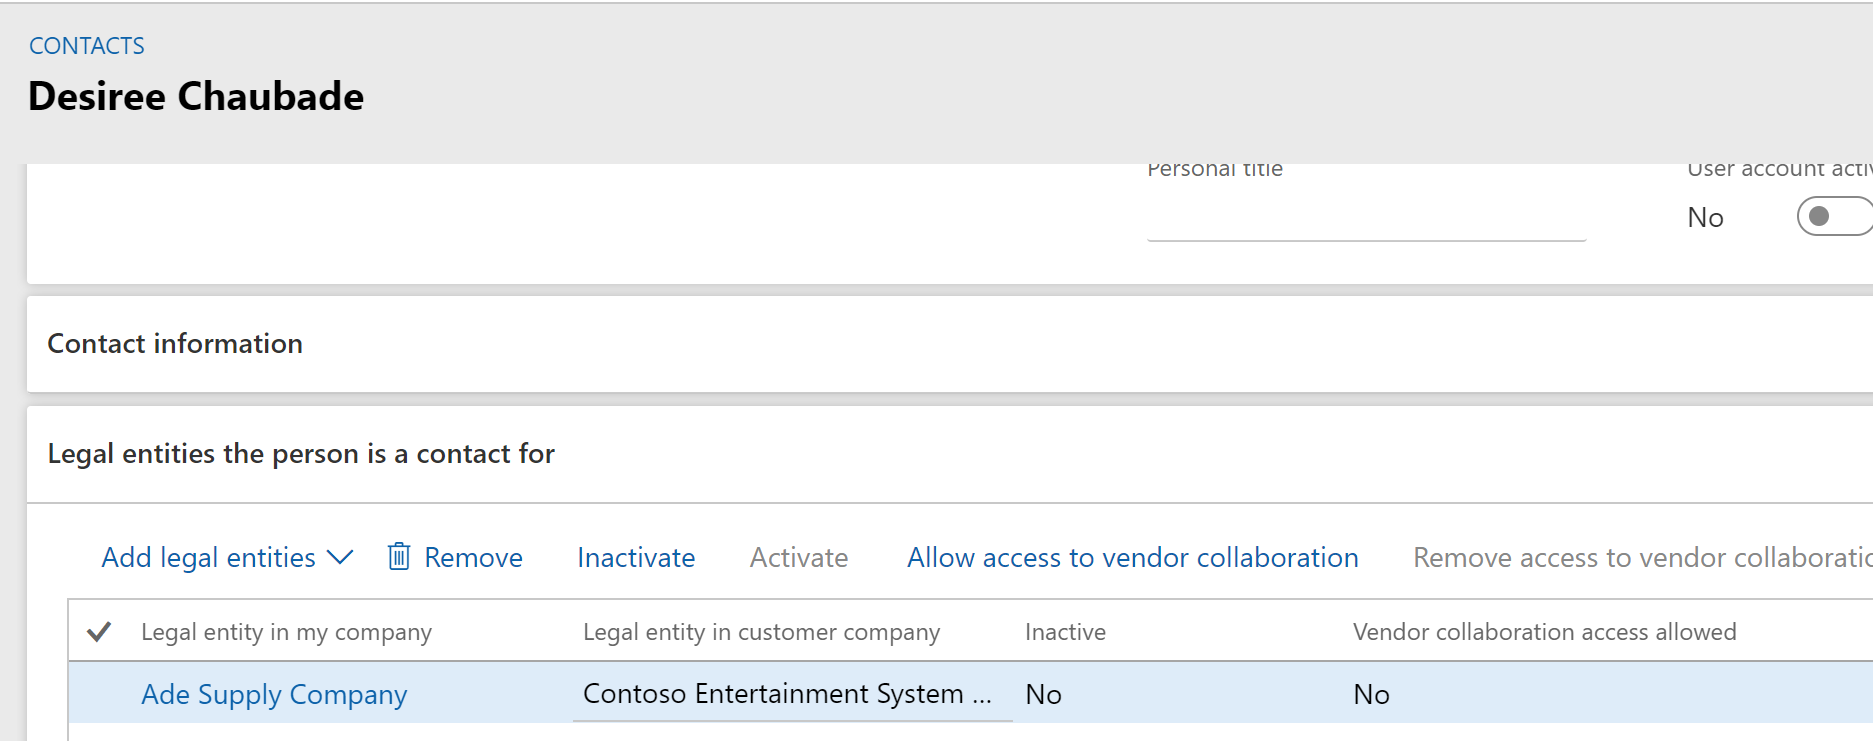
After the contact person details are entered, and the vendor is found and selected, a new contact is now created that is linked to the selected vendor in “Legal entity in my company.”
Method 2: Add new vendor contact via vendor master
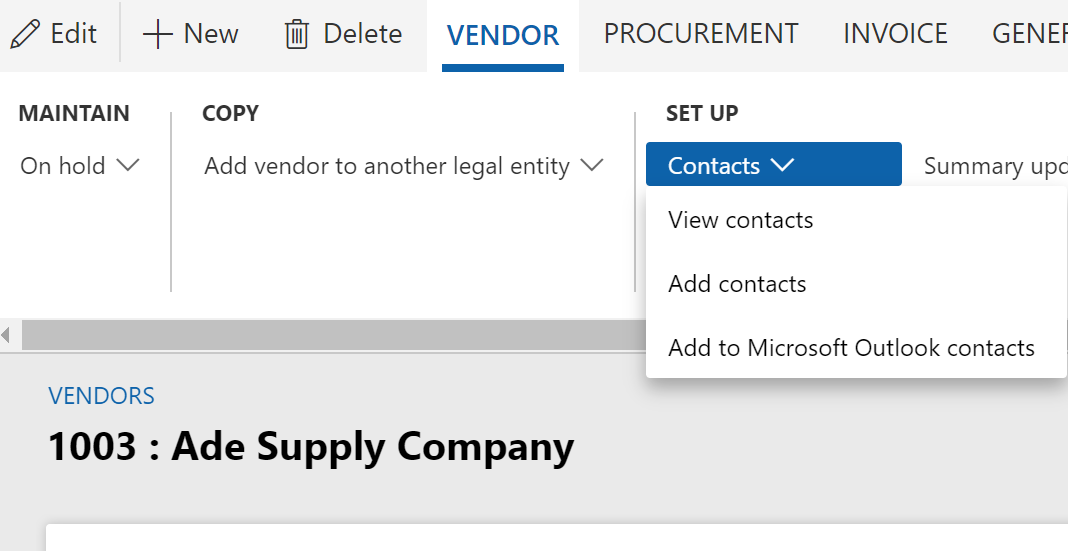
A vendor contact can be added via the Vendor master page as well. This method of adding contacts is much easier and by far the preferred way.
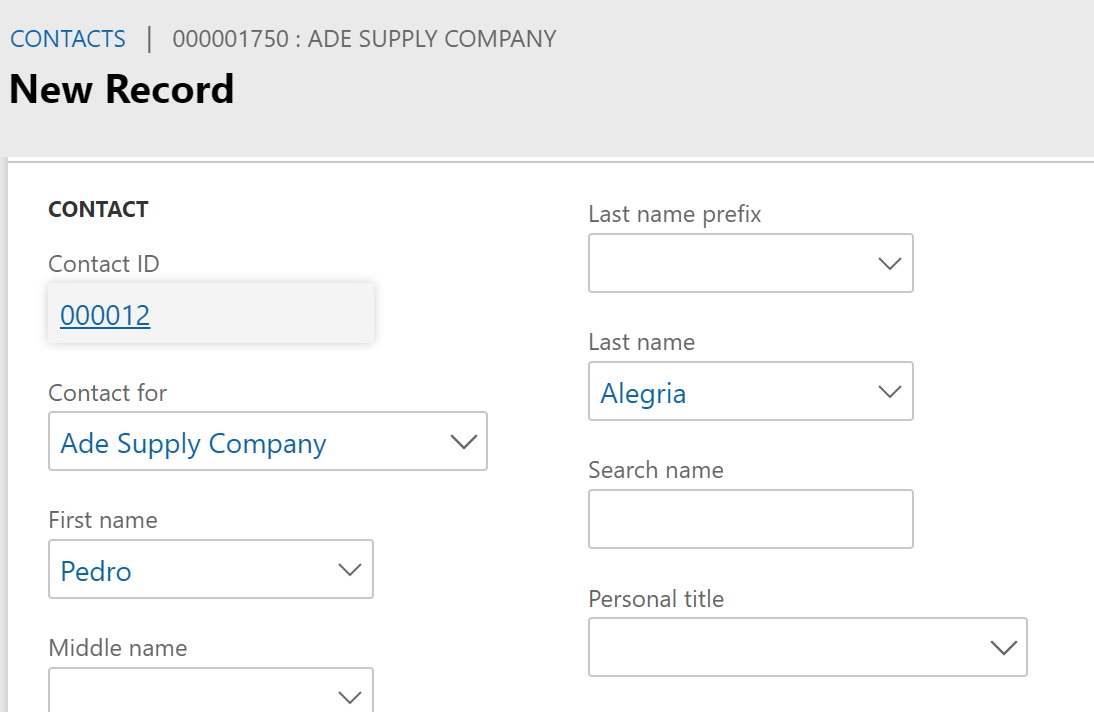
Let’s return to the Vendor information workspace. We can see that now we have two contacts.
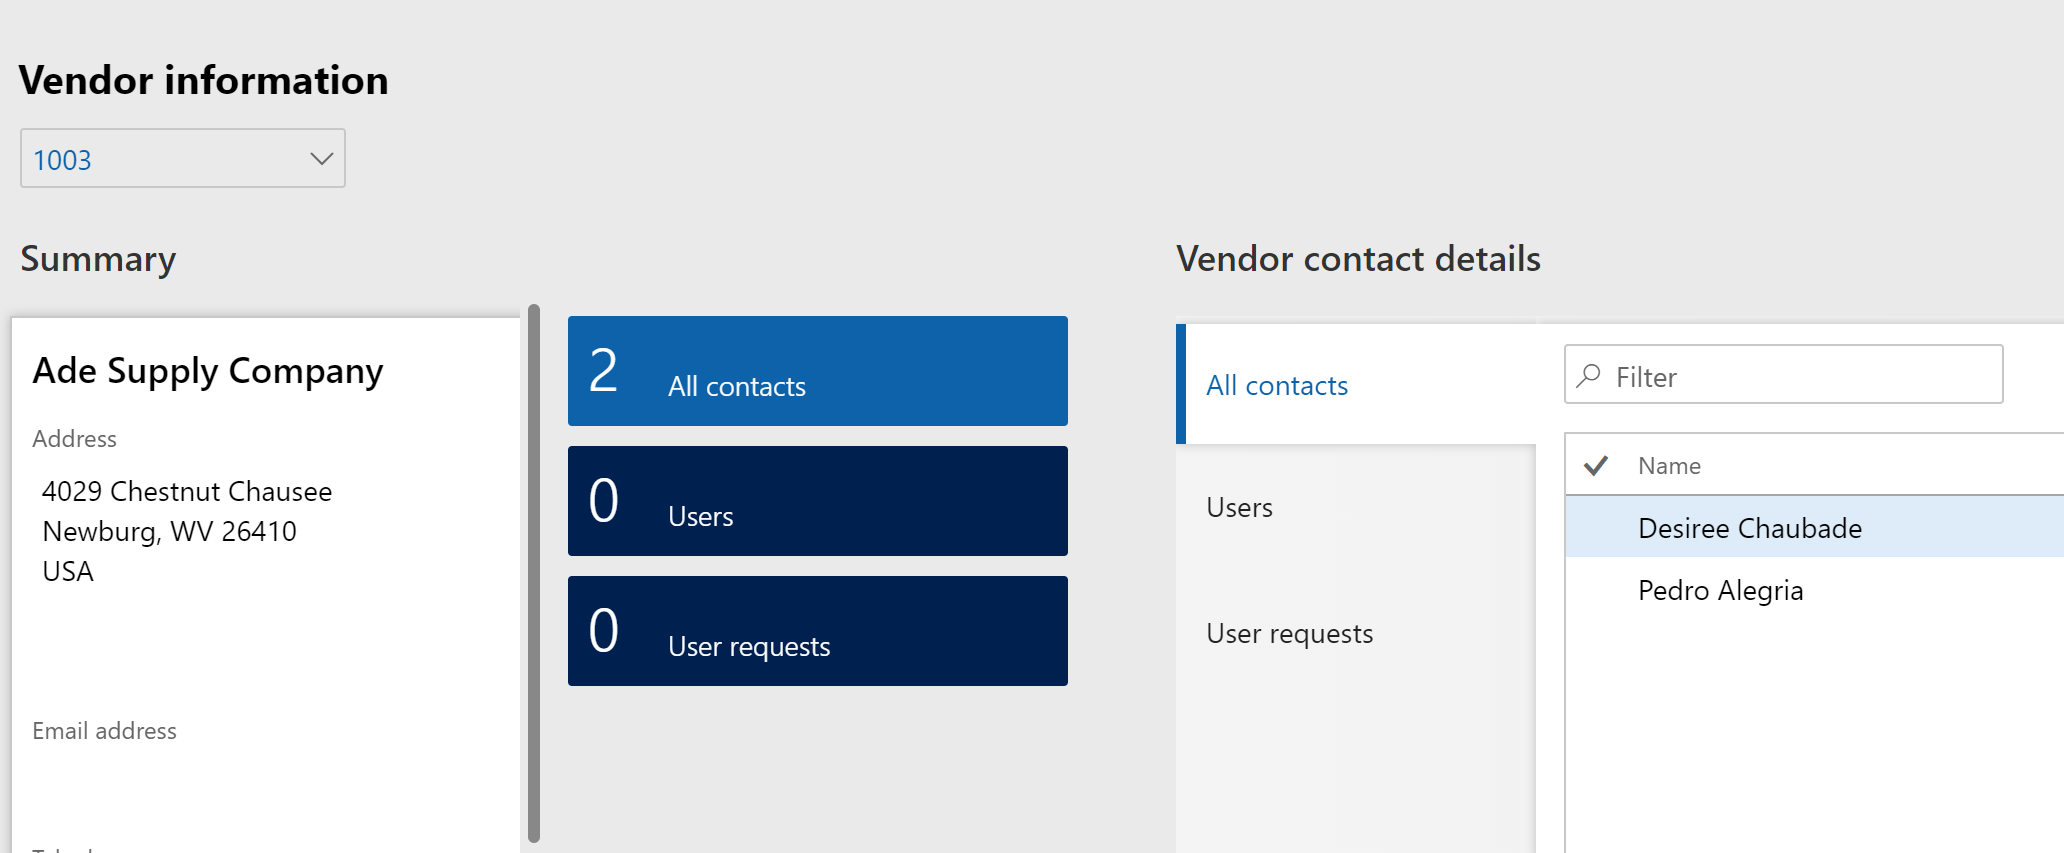
Go to the list of all contacts again and select a contact to provision and click on the “Provision vendor user” button. By “provisioning” a contact, the contact will become a “user request.”
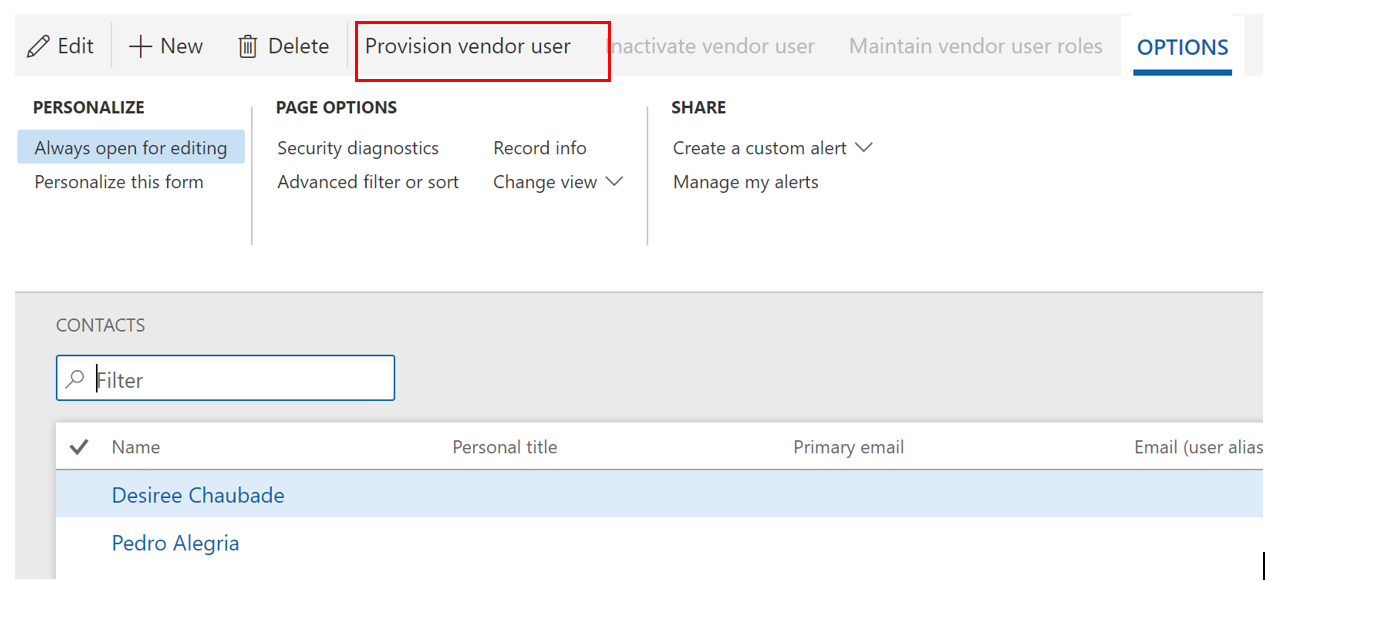
In the User setup section, Email and Business justification fields are mandatory.
Expand the “Legal entities the person is a contact for,” and the vendor will be listed under “Legal entity in my company.” We just have to check the “vendor collaboration” checkbox for the vendor.

Expand the “Assigns user roles” and click on the “Assign” for the user roles. Click on the “Submit” button.

After “Submit,” we get this message:

Going back to the Vendor information workspace, in the User requests list, we now have a user request in submitted status.


Following this, create a worker with the same name as the contact and link that worker to a D365 User ID that has the following roles. Now, we will have a functional vendor user.
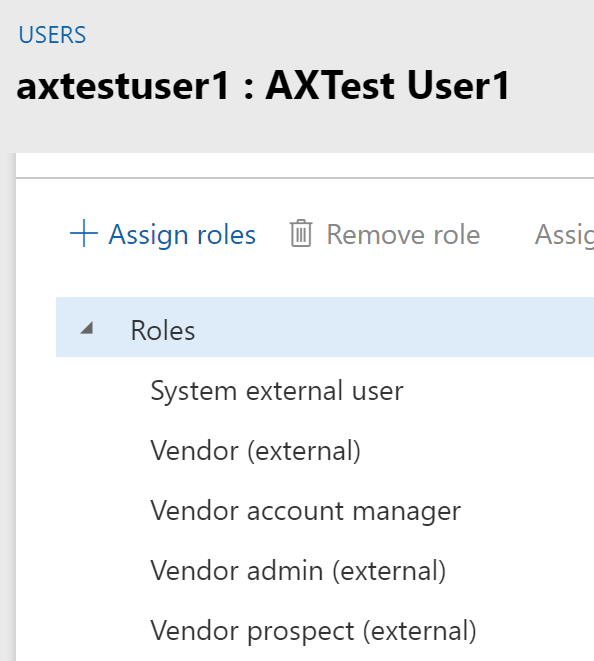
We have bypassed the user request that remains in status “Pending approval.”
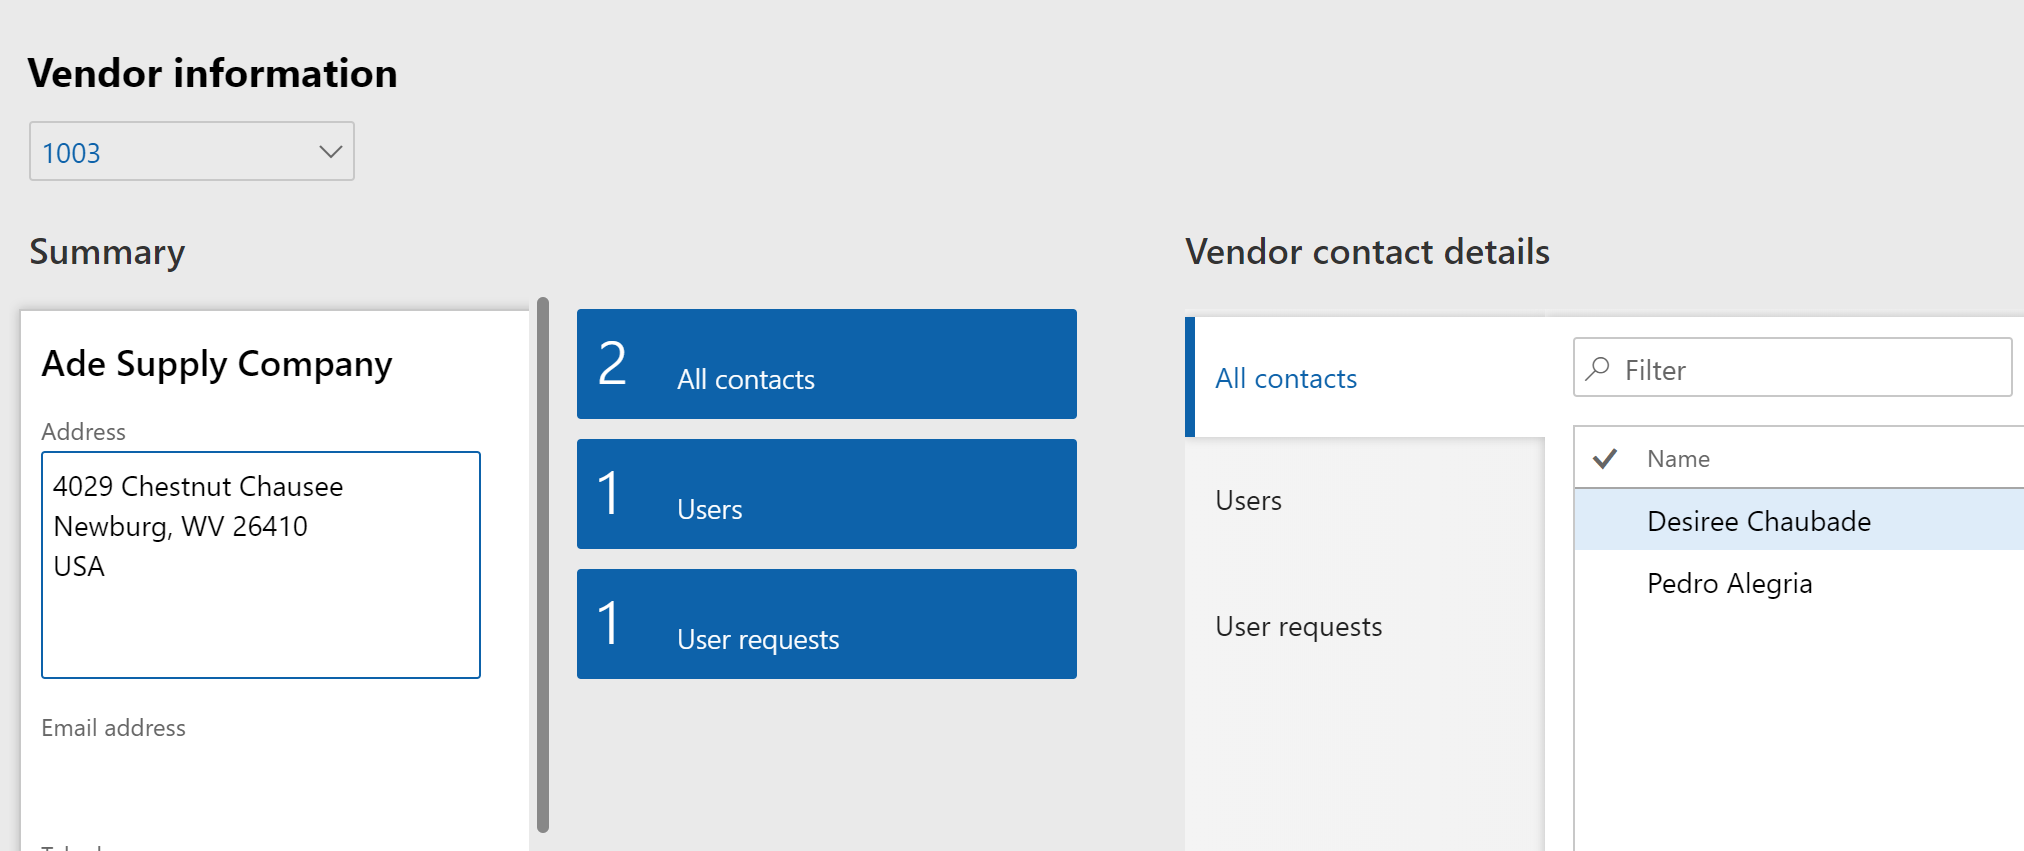
Clicking on “Users” tile, we see contact, worker and D365 external system user = vendor user.

This user is ready to login.
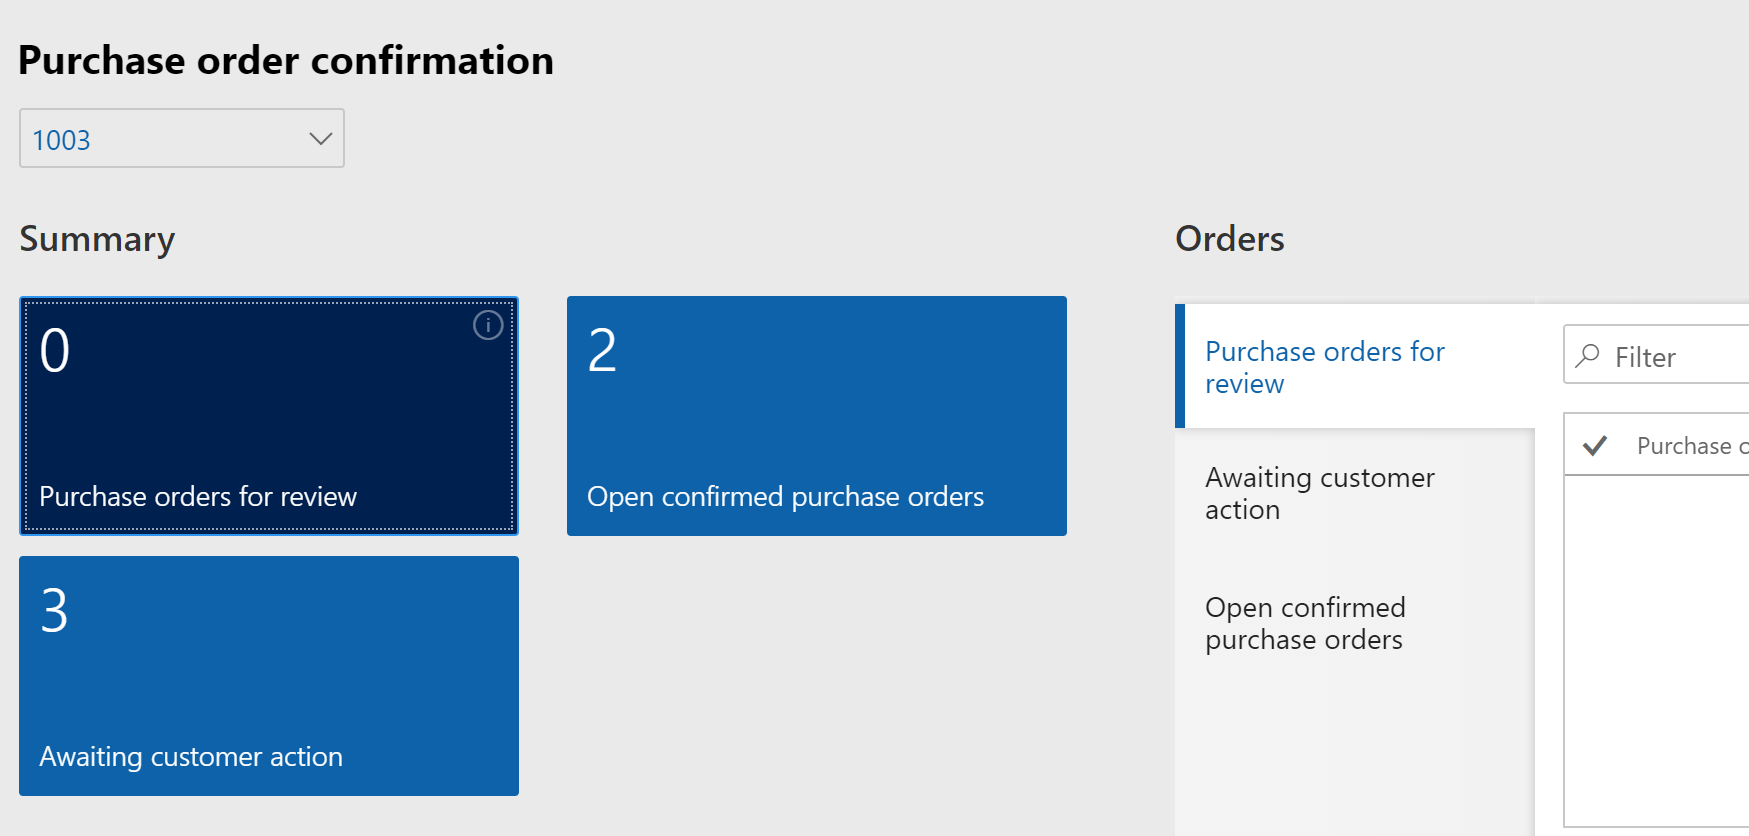
In addition, this Vendor information workspace has a useful link “Purchase order confirmation.”

This link will get us to the Purchase order confirmation workspace.
Have any questions regarding the Dynamics 365 for Finance and Operations Vendor Information Workspace? Please contact our experts at any time!
This publication contains general information only and Sikich is not, by means of this publication, rendering accounting, business, financial, investment, legal, tax, or any other professional advice or services. This publication is not a substitute for such professional advice or services, nor should you use it as a basis for any decision, action or omission that may affect you or your business. Before making any decision, taking any action or omitting an action that may affect you or your business, you should consult a qualified professional advisor. In addition, this publication may contain certain content generated by an artificial intelligence (AI) language model. You acknowledge that Sikich shall not be responsible for any loss sustained by you or any person who relies on this publication.


